Deep Conditioning Curly Hair: How Often and How to Do It Right
Deep conditioning curly hair the right way: how often by porosity, step-by-step with heat, moisture vs protein masks and safe DIY recipes. Revive dry curls!
In this article
- What Deep Conditioning Actually Does
- How Often to Deep Condition Curly Hair
- Deep Conditioning Curly Hair, Step by Step
- Moisture vs Protein: Which Does Your Hair Need?
- Ingredients to Look For (and a Few to Skip)
- DIY Masks That Are Actually Safe
- Deep Conditioning Mistakes to Avoid
- A Simple Monthly Deep Conditioning Plan
- The Bottom Line
Deep conditioning curly hair is the step that can take wash days from “fine” to curls that stay soft until the next wash, once you stop guessing how often to do it and which mask to reach for. Curls run drier than straight hair because scalp oil struggles to travel down a spiral, so a two-minute conditioner often isn’t enough. Here’s how often to deep condition, how to do it properly, and how to tell whether your hair wants moisture or protein.
Key takeaways
- A deep conditioner is more concentrated than a rinse-out and stays on for 15–30 minutes, ideally with gentle heat.
- Frequency depends on porosity and damage: weekly for dry, high porosity or color-treated curls; every two to four weeks for fine or low porosity hair.
- Apply to clean, damp hair in sections, from the ends up, and keep it off your scalp.
- Mushy, limp curls need protein; dry, brittle curls need moisture.
- Don’t sleep in a mask. More time doesn’t mean more benefit.
How often depends on porosity
Not sure about yours? Take the free hair porosity quiz first.
What Deep Conditioning Actually Does
A rinse-out conditioner is built to work in two to three minutes. It leaves a thin layer of conditioning agents on the surface of the hair to smooth the cuticle, add slip for detangling and cut static. The American Academy of Dermatology’s healthy hair tips recommend using one after every shampoo, and that’s your baseline.
A deep conditioner, or mask, packs a higher concentration of emollients, humectants and conditioning agents into a thicker base, and it’s meant to sit. Time and warmth let more of the formula bind to the hair, and some smaller ingredients, such as hydrolyzed proteins and coconut oil, can move past the cuticle. The payoff is softer, stretchier hair that detangles easily and forms better curl clumps.
What it can’t do is permanently repair damage or seal split ends. The effect lasts a few washes, which is why a steady schedule beats one heroic session.
Did you know?
Hair is made mostly of keratin, the same family of protein found in nails. Because each strand is made of dead, protein-based cells once it leaves the scalp, it can’t repair itself, which is why conditioners only improve it temporarily.
How Often to Deep Condition Curly Hair
There’s no single right answer, because how often you need a mask depends on how fast your hair loses moisture. That comes down to porosity (how open the cuticle is) and how much chemical or heat damage you’re working with. If you’re not sure where you fall, this guide to low vs high porosity hair has quick ways to tell.
| Hair situation | How often | Best type of mask | Notes |
|---|---|---|---|
| Low porosity | Every 2–4 weeks | Lightweight, moisture-based, low protein | Always add heat; skip heavy butters |
| Normal porosity | Every 1–2 weeks | Balanced moisture mask | Add protein about once a month |
| High porosity | Weekly | Rich moisture mask, protein every 2nd or 3rd session | Seal afterward with leave-in and cream |
| Color-treated or bleached | Weekly | Moisture plus hydrolyzed protein | Most important in the two weeks after coloring |
| Regularly heat-styled | Weekly | Moisture, protein every 3–4 weeks | Use heat protectant every time |
| Fine or wavy (2A–2C) | Every 2–4 weeks | Light mask, 10–15 minutes | Rinse thoroughly to avoid limp roots |
Treat the table as a starting point. If curls feel soft but limp, scale back; if they feel rough two days after wash day, step up.
Deep Conditioning Curly Hair, Step by Step
Set aside 30–40 minutes on wash day. The mask replaces your regular conditioner, so this adds less time than you’d think.
-
Start with clean hair. Shampoo your scalp first. If curls feel coated, or it’s been a month, use a clarifying shampoo; buildup blocks a mask from doing its job.
-
Squeeze out excess water. Hair should be very damp, not dripping. Too much water dilutes the mask and makes it slide off.
-
Section. Clip hair into four sections for shoulder-length curls, six to eight for long or dense hair.
-
Apply the right amount. Use about a quarter-size amount per section, roughly two tablespoons total for shoulder-length hair. Start at the ends and work up, stopping two inches from the scalp. Hair should feel slippery, with no white clumps left sitting on top.
-
Detangle. Work through each section with your fingers or a wide-tooth comb, ends first. This spreads the mask evenly.
-
Add gentle heat. Cover with a plastic shower cap, then a heated cap, a warm towel or a hooded dryer on low. Warmth helps the product spread and matters most for low porosity hair, whose tight cuticle resists absorption.
-
Wait 15–30 minutes. Follow the label. Past 30 minutes you gain very little.
-
Rinse with cool to lukewarm water. Rinse until hair feels smooth but not squeaky. Very dry or coily hair can keep a hint of slip.
-
Style right away. Apply leave-in and stylers to wet hair so the softness you just added gets locked in.
No heat cap? Use a towel
Dampen a hand towel, microwave it for 30–40 seconds until warm (not hot), and wrap it over your shower cap. Swap or rewarm it after 10 minutes. Sitting in a steamy bathroom works too.
Moisture vs Protein: Which Does Your Hair Need?
Hair is mostly keratin, a protein, and it needs both structure (protein) and flexibility (moisture). Too much of either throws curls off, so it helps to read the signs before you pick a mask.
- You need moisture if hair feels dry, rough or straw-like, tangles easily, looks dull and snaps with very little stretch.
- You need protein if hair feels mushy or gummy when wet, overly soft and limp, and curls won’t hold their shape. This is common after bleach or frequent heat.
The Elasticity Test
Take one shed strand of clean, wet hair and stretch it gently between your fingers.
- Stretches a little and springs back: balanced. Keep doing what you’re doing.
- Barely stretches, then snaps: needs moisture.
- Stretches a long way and stays stretched, or feels gummy: needs protein.
If hair feels stiff and brittle after a protein treatment, you’ve overdone it. Follow with a protein-free moisture mask and take a few weeks off protein. Low porosity and coarse strands tend to be the most protein-sensitive, while bleached and high porosity hair usually handles more.
Did you know?
A hair strand can stretch roughly 30% when wet before it breaks, which is exactly why the elasticity test works and why wet hair is at its most fragile. Be gentle when you detangle.
Ingredients to Look For (and a Few to Skip)
You don’t need an expensive jar. Read the first five to seven ingredients, since cosmetic labels list them in descending order (the FDA’s cosmetics pages explain how labeling works), and match them to what your hair needs.
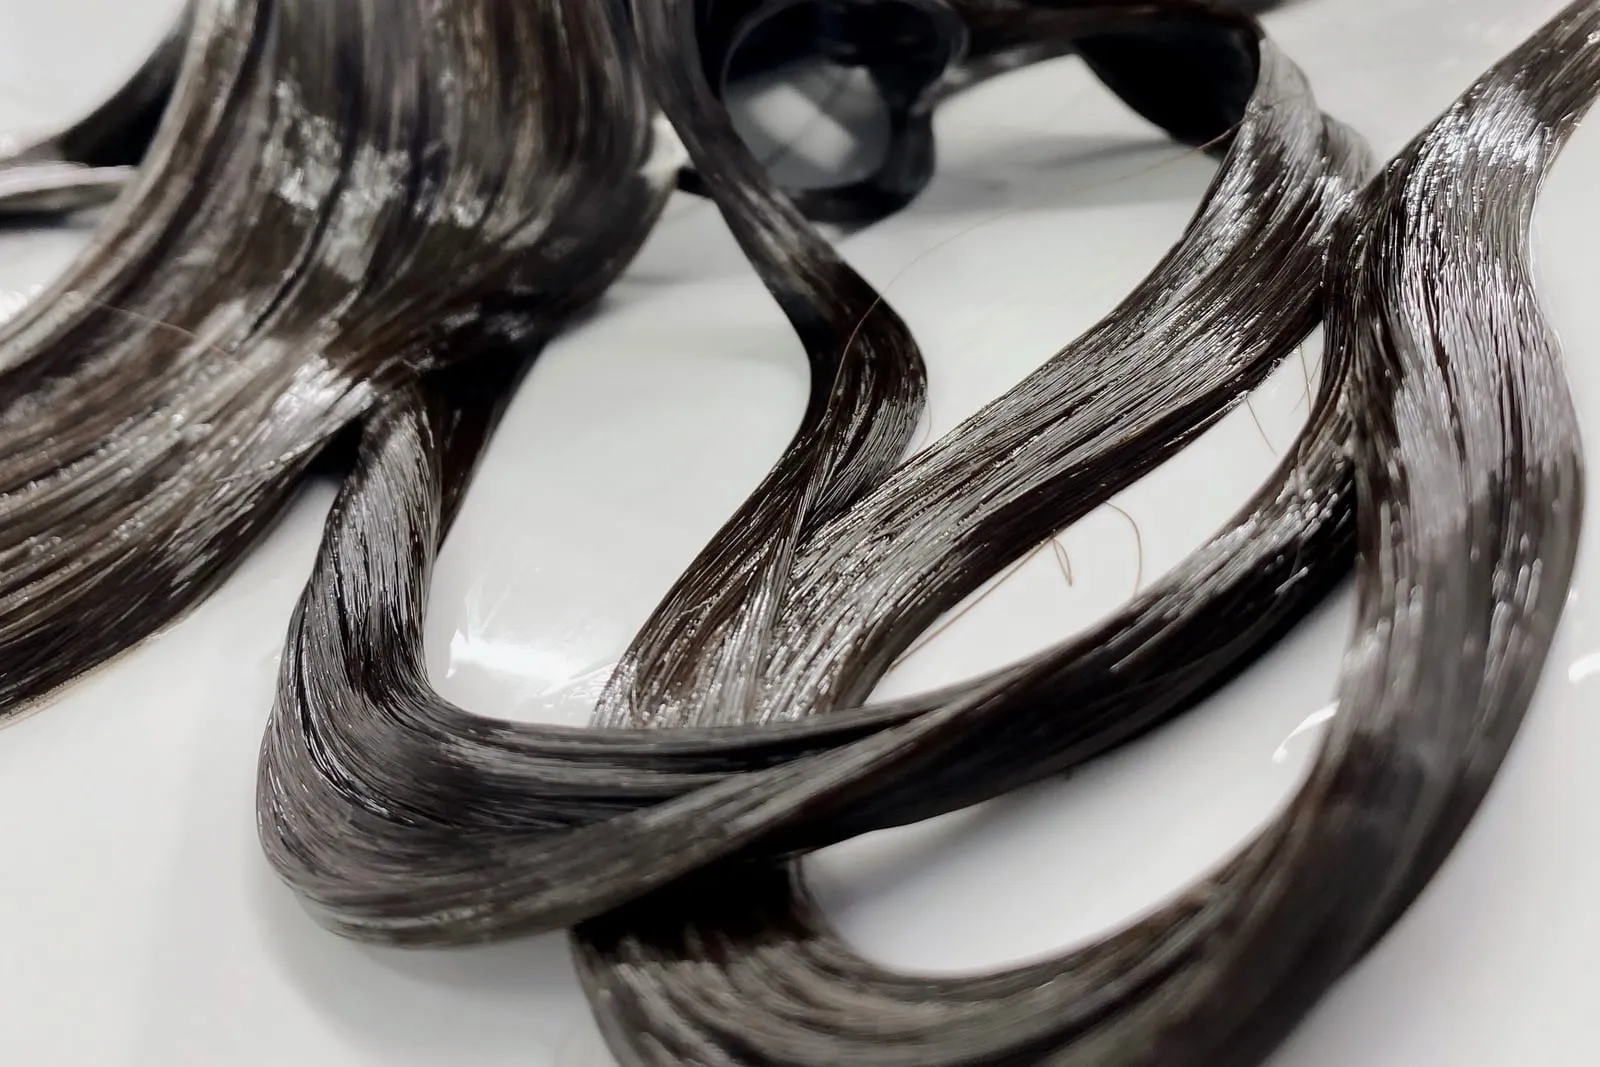
- Humectants: glycerin, aloe vera, honey and panthenol draw water into the hair.
- Emollients and butters: shea butter, mango butter, avocado oil and coconut oil soften and seal. Richer formulas suit high porosity and coily hair.
- Fatty alcohols: cetyl, cetearyl and stearyl alcohol are the “good” alcohols that give a mask its creamy slip.
- Conditioning agents: behentrimonium methosulfate (not a sulfate cleanser, despite the name) and cetrimonium chloride detangle and smooth.
- Hydrolyzed proteins: hydrolyzed wheat, rice, silk or keratin protein and amino acids temporarily reinforce weak spots.
Skip masks with drying alcohols such as alcohol denat. high on the list, and go easy on heavy, non-water-soluble silicones if you only use gentle shampoos, because they build up over time.
Quick hack: warm the tube
Set the sealed tube or jar in a bowl of warm (not hot) tap water for five minutes before you apply it. A slightly warmed mask spreads more easily and starts working sooner, with no microwave needed.
DIY Masks That Are Actually Safe
Kitchen recipes can’t match a formulated mask, but a couple work well as boosters. Mix them fresh, use them immediately and throw away leftovers, since they contain no preservatives.
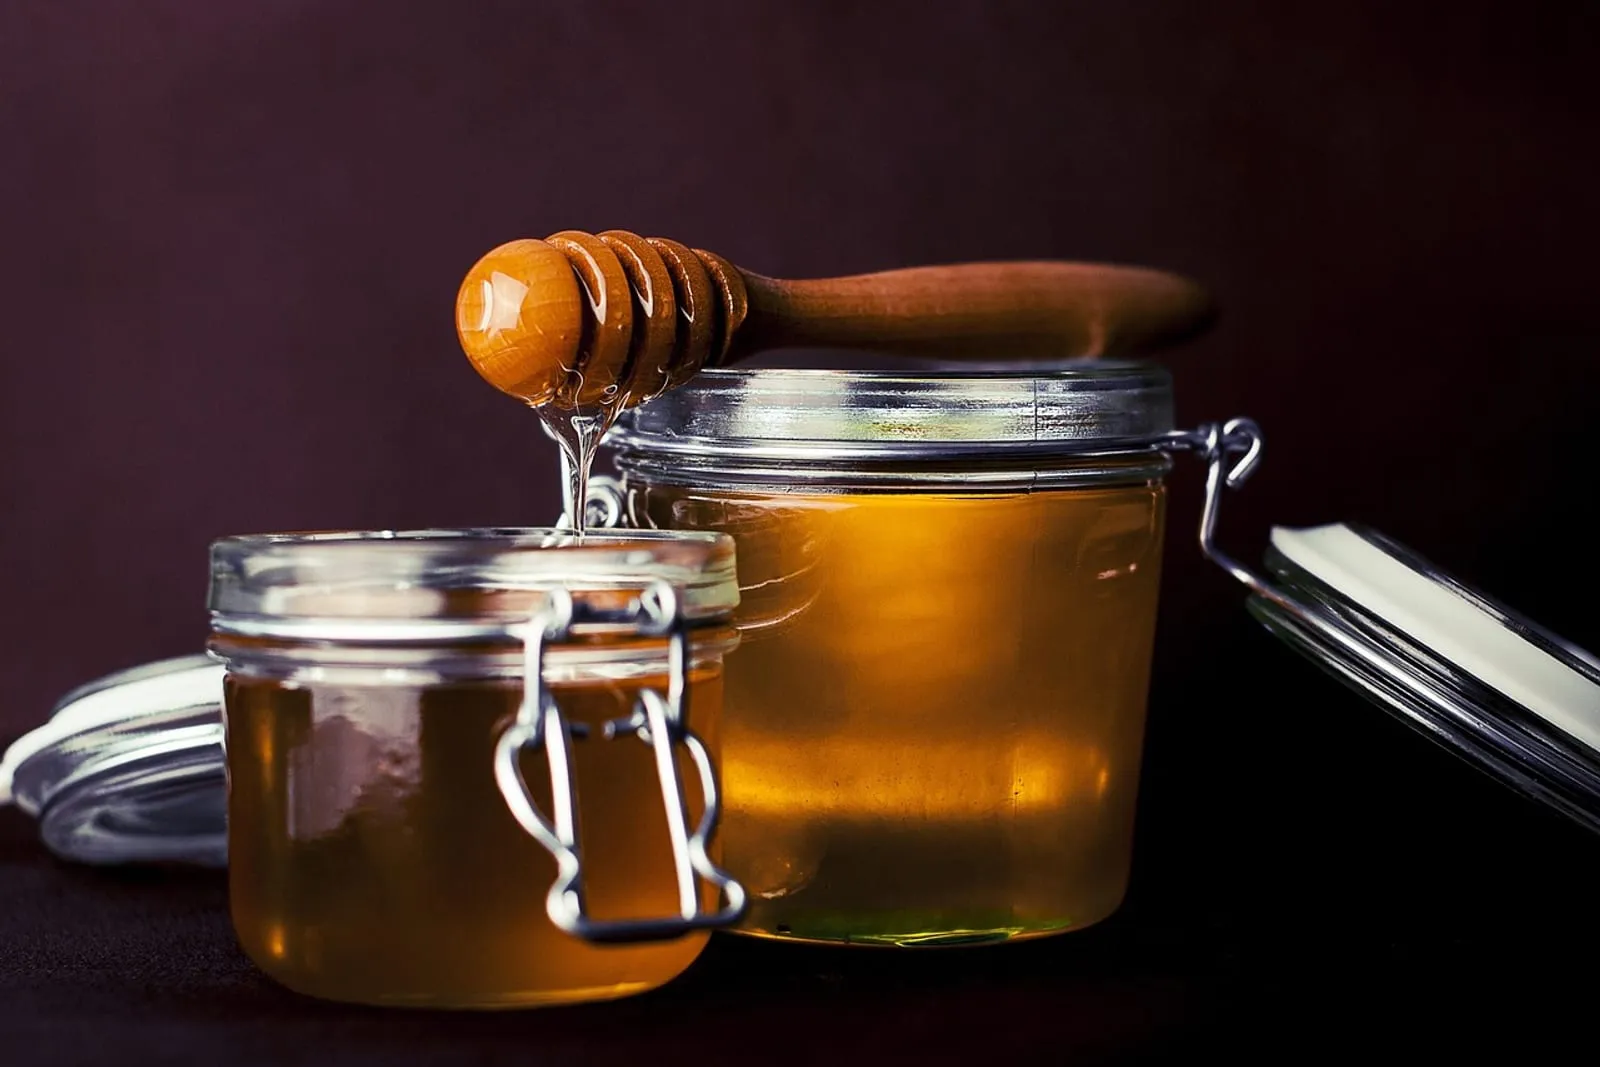
- Honey and conditioner: stir one tablespoon of honey into three tablespoons of your regular conditioner. Apply for 20 minutes with heat, then rinse well.
- Aloe and conditioner: one tablespoon of pure aloe vera gel in three tablespoons of conditioner makes a light mask for wavy or low porosity hair.
- Oil-boosted mask: add one teaspoon of olive or avocado oil to your usual mask if your hair is high porosity and very dry.
DIY treatments to skip
- Raw egg: its proteins are too large to get into the hair, it can cook in warm water and cling to your curls, and raw egg carries a salmonella risk.
- Oil-only masks: oil contains no water, so it seals but doesn’t hydrate. Coating dry hair in oil can leave it greasy and drier underneath.
- Straight lemon juice or baking soda: both sit at pH extremes that rough up the cuticle.
Deep Conditioning Mistakes to Avoid
- Leaving a mask on overnight. Protein masks can turn hair stiff, and keeping hair wet for hours leaves it swollen and fragile. Protect curls at night with satin instead; here’s how to sleep with curly hair.
- Applying it to your roots. It flattens the crown and can leave your scalp greasy or itchy.
- Masking over buildup. If products have stopped working, clarify first.
- Using protein every week when your hair isn’t damaged.
- Skipping stylers afterward. Without a leave-in, the softness fades as hair dries.
If curls still misbehave after a month of consistent masks, the cause may be elsewhere in your routine. Run through these common curly hair mistakes.
When a mask isn’t the answer
Sudden dryness, breakage, shedding or an itchy, sore scalp can have causes no conditioner will fix. See a board-certified dermatologist or a trichologist if any of these persist.
A Simple Monthly Deep Conditioning Plan
This plan assumes one main wash day a week and normal to dry curls.
| Week | Treatment | Time |
|---|---|---|
| Week 1 | Clarifying shampoo, then moisture mask with heat | 20–30 min |
| Week 2 | Moisture mask | 15–20 min |
| Week 3 | Protein treatment, followed by regular conditioner | Per label, usually 5–15 min |
| Week 4 | Moisture mask, or regular conditioner if hair feels balanced | 15 min |
For fine, wavy or low porosity hair, keep weeks 1 and 3 and use regular conditioner in between. For bleached or high porosity curls, follow the plan as written and seal with a cream or light oil. It slots straight into a weekly curly hair routine.
Quick hack: steam the shower
No heat cap? Apply the mask, cover with a shower cap and then take the rest of your shower. The warm, steamy air gives low porosity hair the gentle warmth it needs.
The Bottom Line
Deep conditioning curly hair works when it’s regular, warm and matched to your hair: weekly for dry or damaged curls, every few weeks for fine or low porosity ones, 15–30 minutes each time on clean, damp hair. Check your elasticity once a month to decide between moisture and protein, and expect softer, better-defined curls within three or four sessions.
Frequently Asked Questions
How long should I leave a deep conditioner on curly hair?
Can I deep condition curly hair every wash?
Should I deep condition before or after shampoo?
Do I need a heat cap to deep condition?
You might also like
More in Hair Care →
Protective Hairstyles for Winter: 7 Styles That Last
Pick protective hairstyles for winter that guard dry, breakage-prone hair from cold and wool. Compare 7 styles, then learn prep and care. Save this guide!

Hair Porosity: Low vs High, How to Tell and What to Use
Confused about hair porosity? Learn how to test for low vs high porosity hair, what each type needs, what to avoid and which myths to ignore. Find yours!
DIY Hair Masks From Your Kitchen: 6 Easy Recipes
Make a DIY hair mask from your kitchen with 6 easy recipes for dry, frizzy, oily or dull hair. Get amounts, timing and a patch-test tip. Mix one tonight!