Silk Press at Home, Step by Step (Without Frying Hair)
Learn how to do a silk press at home with a safe prep, blow-dry and flat iron routine, plus fixes for frizz and reversion. Get sleek hair this weekend!

In this article
- What Is a Silk Press?
- Silk Press at Home: What You Need to Start
- Step 1 to 3: Wash, Condition and Detangle
- Step 4: The Blow-Dry (Where the Magic Happens)
- Step 5: Flat Iron in Small Sections
- Step 6: Finish With Shine, Not Weight
- Make It Last: Silk Press Maintenance
- Troubleshooting: If Your Silk Press Isn’t Working
- Your Next Step
You love the look of a bouncy, glossy silk press, but the salon price and the two-hour appointment add up fast. The good news is that a silk press at home is doable if you get the steps in the right order: a thorough wash, a deep conditioner, a tension blow-dry and a flat iron on a safe setting. Here is the whole process, from prep to wrapping it at night.
Key takeaways
- Hair must be clean, deeply conditioned and completely dry before the flat iron touches it.
- Blow-drying with tension (comb attachment or a brush) does most of the straightening, so the iron can run cooler.
- Use a heat protectant and a temperature near 300 to 375°F, depending on your hair.
- Small sections and one or two slow passes beat five fast ones.
- Wrap your hair at night, and skip water, steam and heavy sweat to make the press last.
What Is a Silk Press?
A silk press is a heat-based straightening style that leaves hair smooth, shiny and light, with movement instead of the stiff, flat look of a hot-comb press. It is most popular with curly, coily and wavy hair, and it is done with a blow-dryer, a flat iron and a heat protectant, rather than chemicals.
Did you know?
The silk press is a modern version of the pressing comb, a metal comb heated on a stove that became a popular straightening tool in the early 1900s. Today’s version uses a blow dryer and a flat iron, which gives more control over the heat.
Because it uses heat only, it fades when your hair gets wet. That is also why it is a better fit for an occasional treat than for every week of the year.
Silk Press at Home: What You Need to Start
Gather everything first so hair does not cool or tangle while you hunt for a clip.
- Clarifying shampoo and a deep conditioner
- A heat protectant (our heat protectant guide explains how to pick one)
- A blow dryer with a concentrator or comb attachment
- A flat iron with adjustable temperature and ceramic or titanium plates
- A wide-tooth comb, a fine-tooth comb for sections and 4 to 6 clips
- A lightweight shine serum and a satin scarf or bonnet
Not for hair that is already breaking
If your hair is bleached, recently chemically straightened or snapping when you comb it, hold off. Heat on weak hair makes it worse, and the American Academy of Dermatology advises limiting heat styling. Book a stylist or see a dermatologist if you notice patchy thinning or scalp irritation.
Step 1 to 3: Wash, Condition and Detangle
A silk press shows every bit of buildup, so start with a clean base.
- Shampoo with a clarifying formula to remove old product, then follow with a moisturizing shampoo if your hair feels dry.
- Deep condition for 15 to 30 minutes, ideally under a warm towel or shower cap. Our deep conditioning guide has timing and ingredients to look for.
- Rinse and detangle gently with a wide-tooth comb, working from the ends upward.
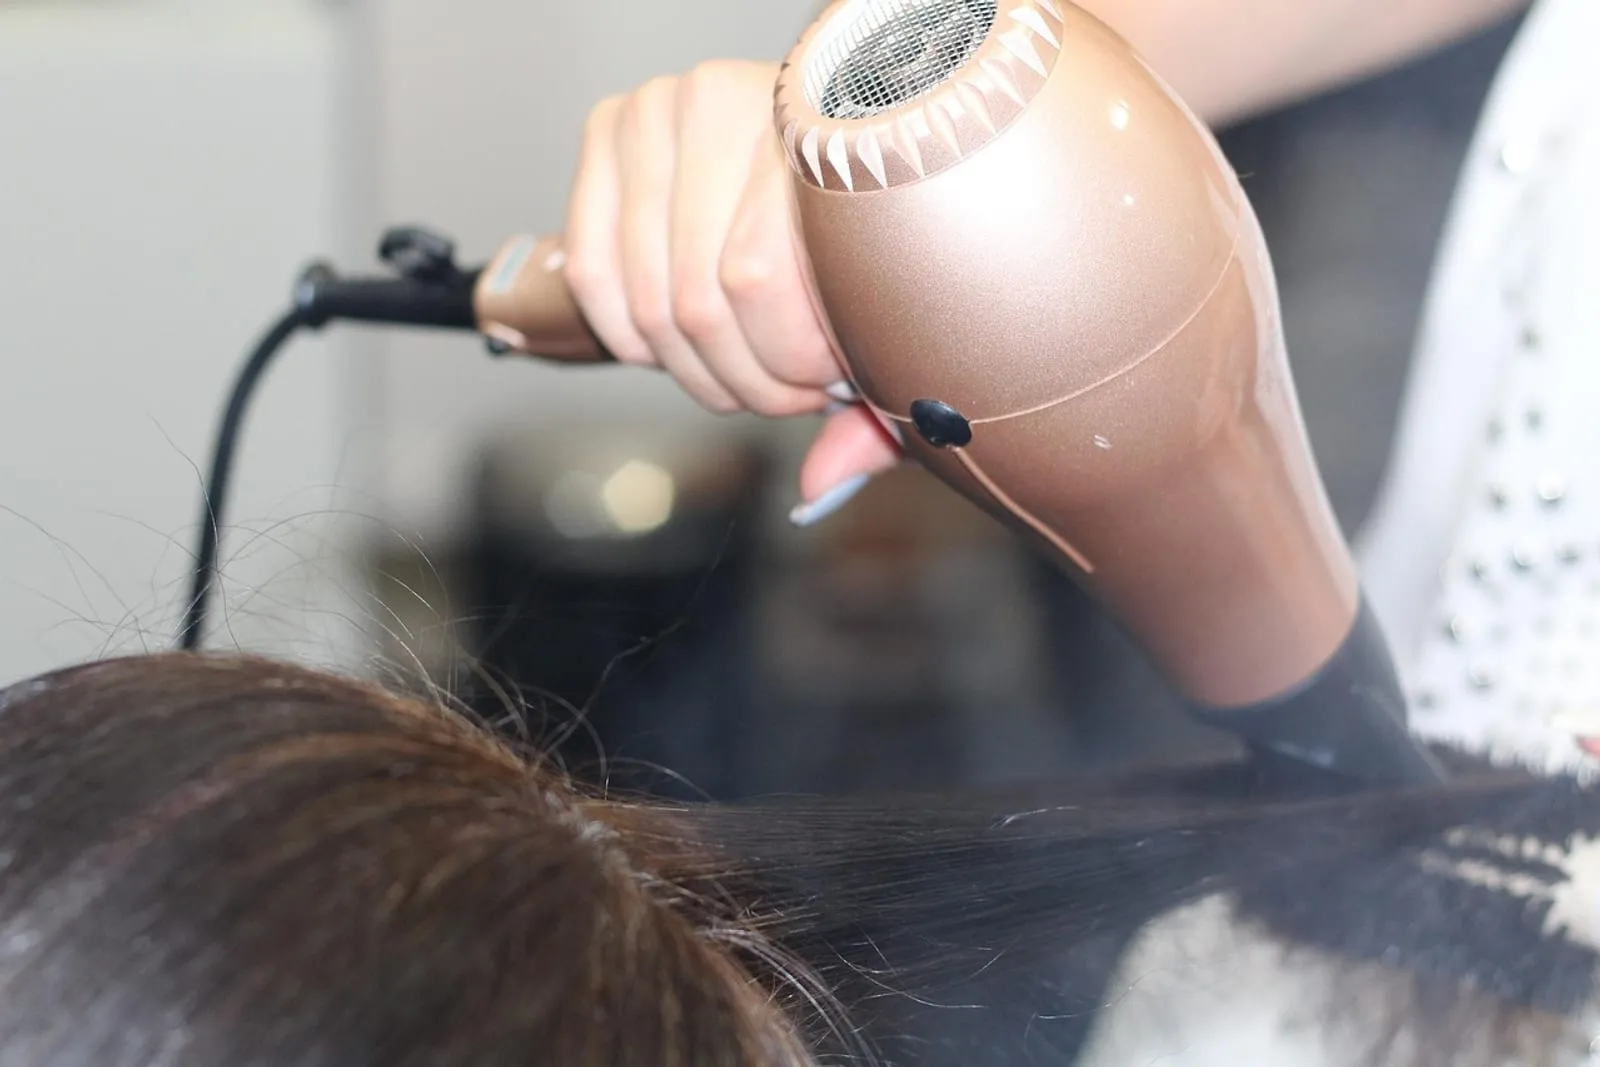
Squeeze out extra water with a cotton T-shirt or microfiber towel instead of rubbing. Rubbing roughs up the hair and leads to frizz.
Step 4: The Blow-Dry (Where the Magic Happens)
Most of the smoothness comes from the blow-dry, not the iron. If the hair is stretched straight at this stage, you will need less heat later.
- Apply a heat protectant and a small amount of leave-in cream to damp hair.
- Split the hair into 4 to 6 sections and clip them up.
- Starting at the nape, blow-dry each section with the comb attachment or a round brush, pulling the hair taut from root to tip.
- Keep the nozzle pointing down the hair shaft, and stay a few inches away.
- Make sure each section is bone dry. Hold a strand to your cheek: it should not feel cool or damp.
Stretch first, iron less
Try blow-drying in two passes: the first with a wide-tooth comb to stretch the section loosely, the second with a fine-tooth comb or brush to smooth it. The more stretched the hair is, the fewer flat iron passes you need.
Step 5: Flat Iron in Small Sections
Now run the iron down each section. Keep sections about 1 to 2 inches wide, and no wider than the plates.
| Hair type | Starting temperature | Passes |
|---|---|---|
| Fine or fragile | 300 to 325°F | 1 |
| Medium or normal | 325 to 350°F | 1 to 2 |
| Thick or very coily | 350 to 375°F | 2 |
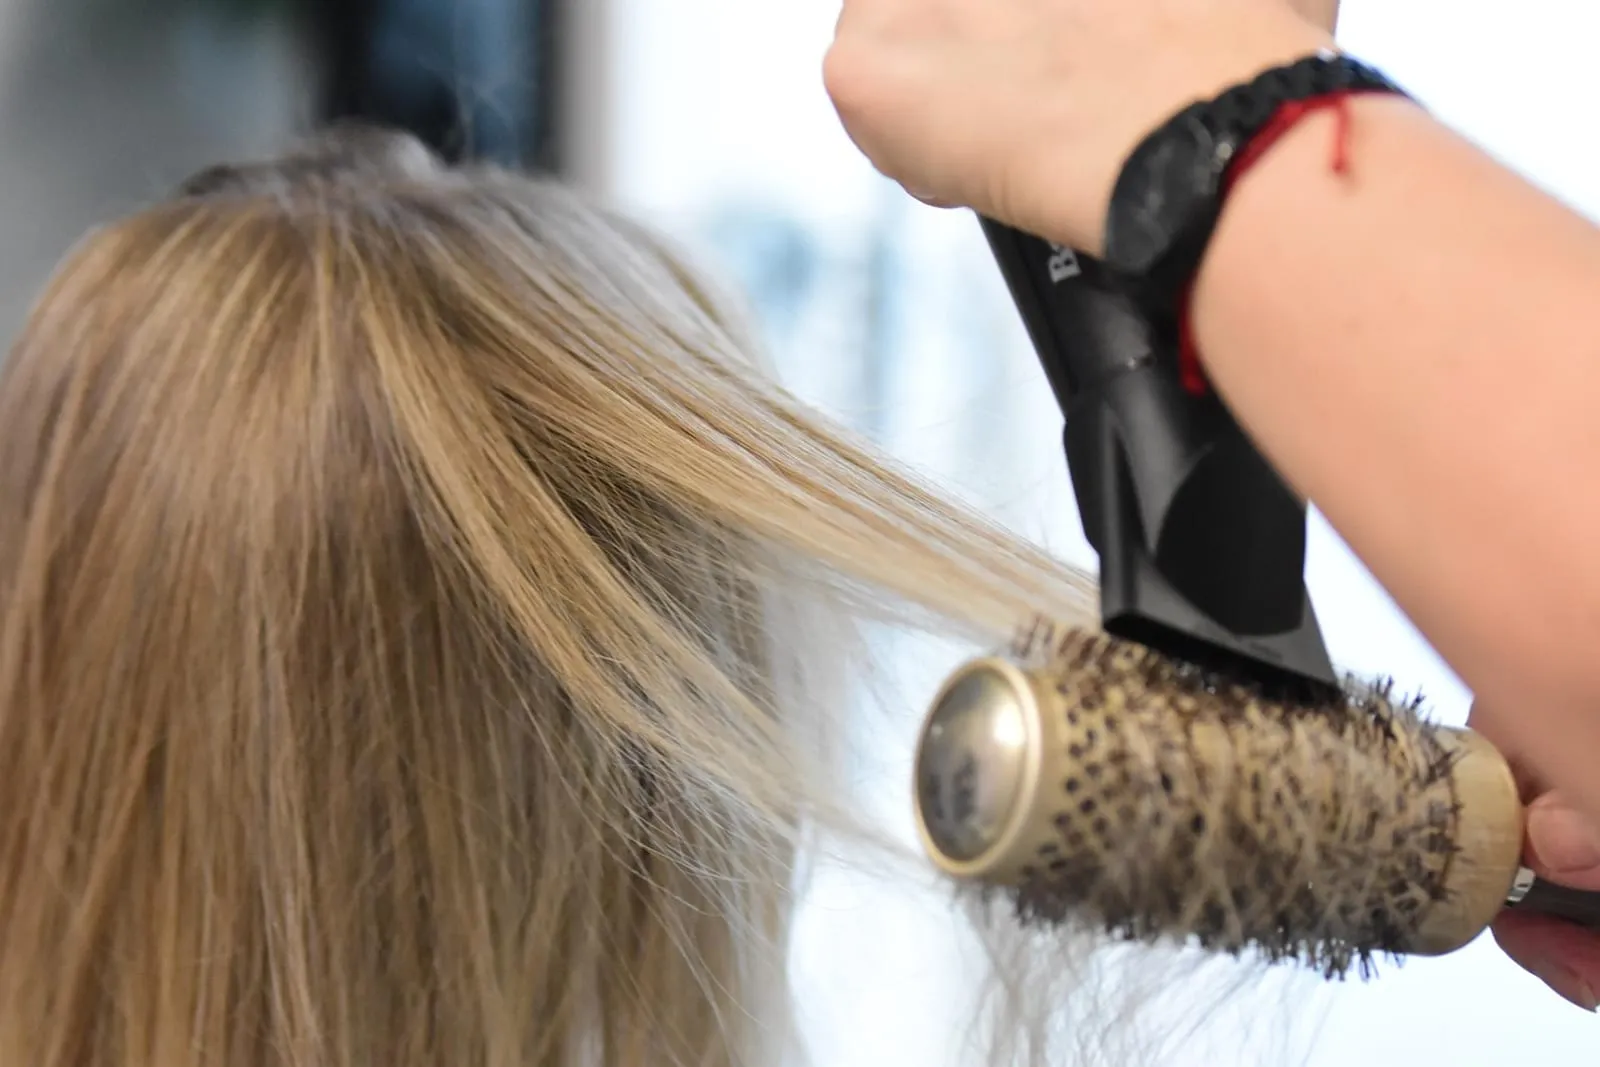
- Comb the section straight with a fine-tooth comb, then clamp the iron near the root.
- Glide the iron slowly down in one smooth motion, following right behind the comb.
- Do not stop partway, and do not go back over the same section more than twice.
- Let the section cool for a moment before you move it, since hair sets as it cools.
The “iron and comb together” technique is the one most stylists use for bone-straight results. If your hair puffs up the second you let go, it was probably still a bit damp or the iron was moving too fast.
Did you know?
Hair is made mostly of a protein called keratin, and its shape is held by hydrogen bonds that break with water or heat and reform as hair cools. A silk press works with those bonds, which is also why water makes the straightness drop away.
Step 6: Finish With Shine, Not Weight
Once all sections are done, add a few drops of lightweight serum to the ends, then smooth your palms over the surface. Skip heavy oils and sprays, which flatten the style and cause stiff strands.
For volume at the roots, lift each section as you iron and turn the iron slightly at the ends for a bevel or soft curve. Our wavy hair routine has tips on keeping natural movement in the style.
Make It Last: Silk Press Maintenance
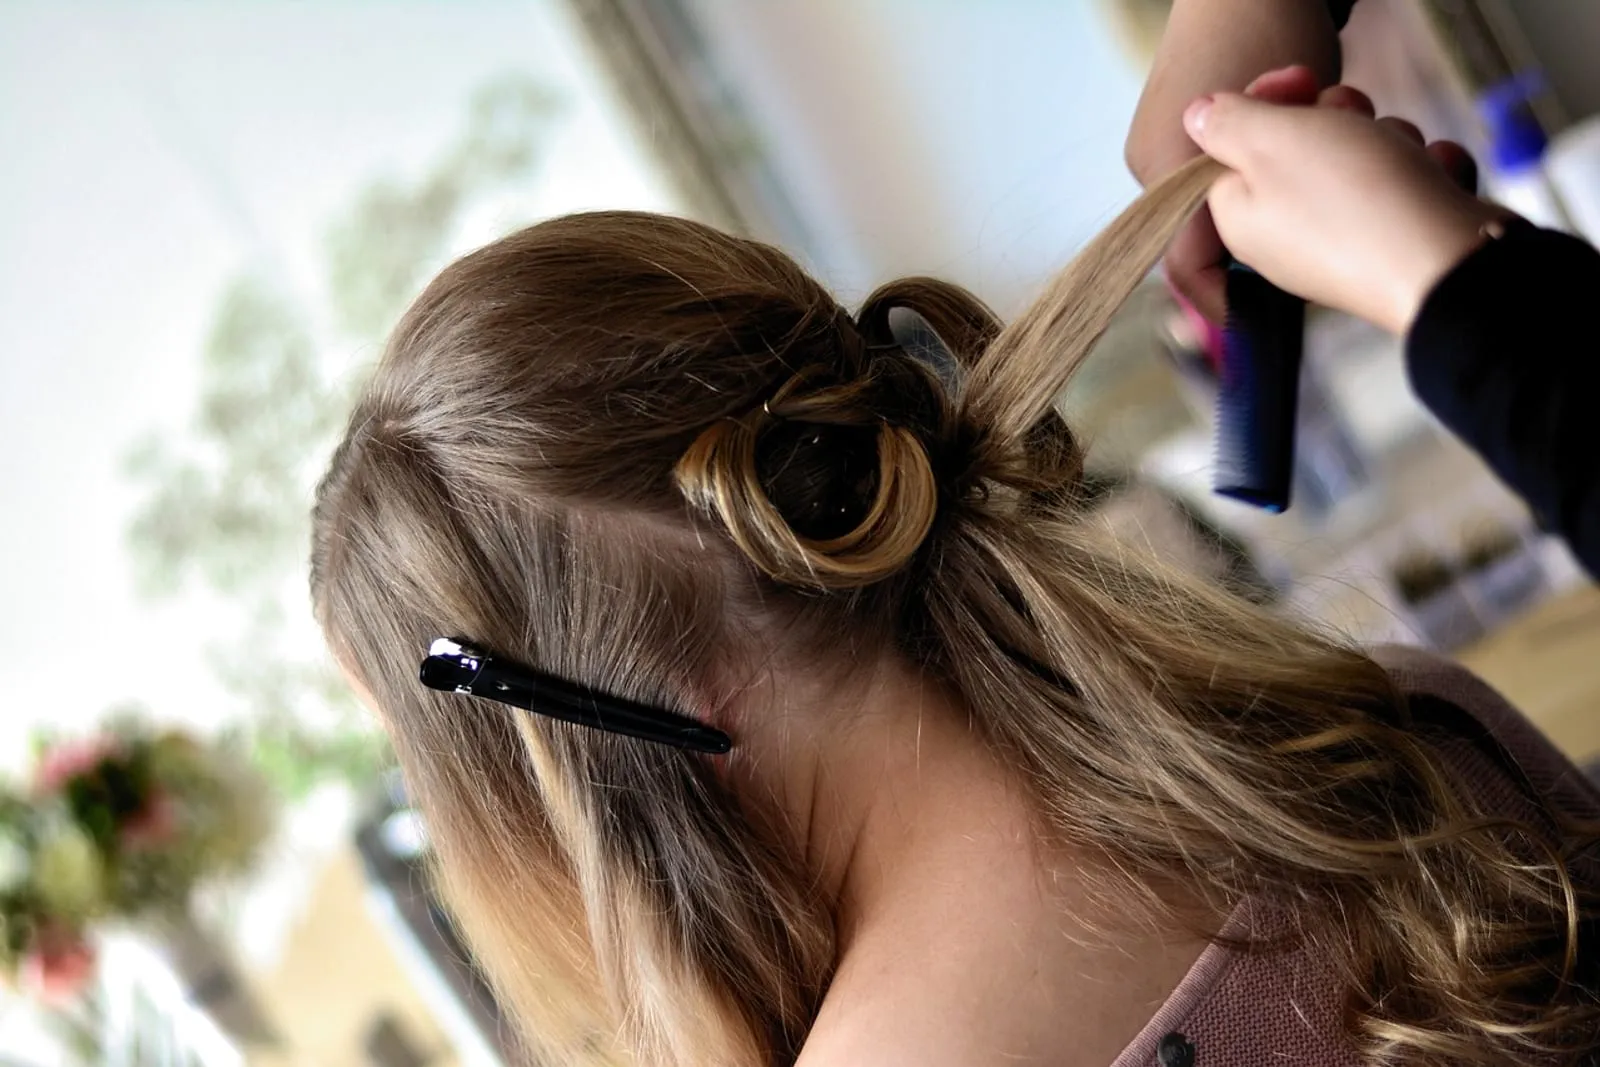
The press only lasts as long as you protect it from moisture and friction.
- Wrap at night. Use a satin scarf or bonnet, or pin curl the ends. See our sleep with curly hair guide for protective methods.
- Avoid water. Wear a shower cap. Even steam from the bathroom can make hair puff.
- Skip heavy workouts if you can, because sweat counts as moisture.
- Refresh with a light pass of the iron on any roots that revert, rather than redoing the whole head.
Shower-proof your press
Rubbing a tiny dab of lightweight oil on dry roots before a shower cap gives a little extra barrier against steam. Keep it tiny, and never apply product to a damp scalp that you then heat.
Troubleshooting: If Your Silk Press Isn’t Working
The Hair Looks Frizzy or Puffy
Hair was likely not fully dry or the sections were too big. Re-blow-dry, use smaller sections and add a bit of serum. For more fixes, read our frizzy hair fixes.
Hair Goes Flat and Limp
Product build-up or too much oil weighs it down. Use a clarifying shampoo before the next press and cut the serum to a few drops.
Hair Reverts After a Day
Humidity, moisture and sweat are the usual causes. Wrap hair at night, and try a lighter touch with oil before you press.
The Curl Pattern Won’t Come Back
If your natural curls look loose or straight after washing, heat may have loosened them. Stop heat styling for a few weeks and focus on moisture and trims. A stylist can assess whether it is damage.
Your Next Step
Block out an afternoon this weekend and start with the prep: a clarifying wash and a deep condition. Do a test on one small section behind your ear before you press the whole head. When you are ready for a heat-free break, try our guide to heatless curls overnight.
Frequently Asked Questions
How long does a silk press last?
Can I do a silk press on my own hair?
Does a silk press damage natural hair?
What temperature should I use for a silk press?
You might also like
More in Hair Care →
Apple Cider Vinegar Hair Rinse: Does It Work?
Does an apple cider vinegar hair rinse really make hair shinier? See the science, the safe ratio, how often to rinse and who should skip it. Try it once!
Best Hair Oils for Every Hair Type (and How to Use Them)
Find the best hair oils for your hair type, from fine and oily to thick and coily. Compare 7 oils, learn how much to use and avoid greasy hair. Start here!
DIY Hair Masks From Your Kitchen: 6 Easy Recipes
Make a DIY hair mask from your kitchen with 6 easy recipes for dry, frizzy, oily or dull hair. Get amounts, timing and a patch-test tip. Mix one tonight!