How to Get Heatless Curls Overnight: 7 Easy Methods
Get heatless curls overnight with 7 easy methods, from sock curls to braids and flexi rods. Compare them, then pick your match. Try one tonight!

In this article
Picture waking up to soft, bouncy curls without a flat iron, a curling wand or any heat damage. Heatless curls overnight make that realistic, but only if you match the method to your hair length and set it on the right amount of damp. Below are seven methods side by side, plus the prep, the morning take-down and the fixes for flat roots, frizz and curls that fall by noon.
Key takeaways
- Set your hair damp, not wet: cool to the touch, no dripping, about 70-80% dry.
- Smaller sections make tighter curls, and bigger sections make loose waves.
- Braids and a headband wrap are the comfiest to sleep in; flexi rods and rag curls give the most defined ringlets.
- Hair must be completely dry before you take the set down, or the curls will drop within an hour.
- Don’t brush the curls out. Loosen them with your fingers and finish with a drop of oil.
Prep: The 10-Minute Setup That Makes Curls Last
Most failed sets come down to the starting point, not the method. Hair that is too wet will not dry by morning, and hair that is bone-dry will not take a shape. Spend ten minutes on these steps first.
- Start with clean or one-day-old hair. Freshly conditioned hair can be slippery, so some people get better hold on day-two hair. Either works if you follow the steps below.
- Blot, don’t rub. Squeeze out water with a microfiber towel or an old T-shirt. Rubbing with a towel is one of the habits dermatologists flag as damaging, and it roughs up the cuticle, which means more frizz by morning.
- Air-dry until damp. That usually takes 20 to 40 minutes, depending on thickness.
Now add product and divide the hair.
- Detangle with a wide-tooth comb, working from the ends up.
- Add a setting product. Use a golf-ball-size amount of mousse, or 4 to 6 sprays of setting lotion, for shoulder-length hair. Use about half for chin-length or fine hair.
- Section the hair into 6 to 10 parts, each 1 to 2 inches wide, and clip them out of the way.
The damp test
Squeeze a section in your fist. If water drips, wait another 10 minutes. If it feels dry and fluffy, mist it lightly and add a little more mousse. You want it cool and slightly heavy, but not dripping.
Heatless Curls Overnight: 7 Methods Compared
Each method gives a different curl shape and a different night’s sleep. Skim the table first, pick the look you want, then jump to the step-by-step below.
| Method | Curl you get | Sleep comfort | Best hair length | Difficulty |
|---|---|---|---|---|
| Sock curls | Bouncy, uniform ringlets | Medium | Shoulder-length and longer | Easy |
| Robe (rod) curls | Loose, glossy waves | Medium | Shoulder-length and longer | Easy |
| Braids | Crimped, beachy waves | High | Chin-length and longer | Easiest |
| Twists and buns | Spiral waves with volume | Medium | Shoulder-length and longer | Medium |
| Flexi rods | Defined spirals and ringlets | Low to medium | Chin-length to mid-back | Medium |
| Paper-towel or rag curls | Tight, vintage ringlets | Medium | Chin-length to mid-back | Medium |
| Scrunchie or headband wrap | Soft, loose bends | High | Shoulder-length and longer | Easiest |
Your hair type matters
Thick, coarse or wavy hair tends to hold a set easily. Fine, straight hair is slippery and drops curls faster, so choose a tighter method and add extra setting lotion.
Not sure which to pick? Use this shortcut:
- Want glam ringlets? Flexi rods or rag curls.
- Want loose, beachy waves? Braids, robe curls or the headband wrap.
- Want to sleep comfortably? Braids or the headband wrap.
- Want a curl you can repeat reliably? Sock curls.
- Want a method matched to your natural pattern? Take the 1-minute curl type quiz first.
The 7 Methods, Step by Step
Every method starts with the prep above. The curl you get depends on how big each section is and how tightly you wrap.
Did you know?
Hair holds its shape through hydrogen bonds, which break when hair gets wet and re-form as it dries. That’s why damp hair wrapped around something dries into a curl, and why a dry, unwrapped strand just springs back.
1. Sock Curls
Tie a long, clean sock into a ring or loop on top of your head. Wrap each damp section around the sock, working from the front around to the back, and tuck the ends under so they stay put. It makes even, bouncy curls from the mid-lengths down. Our sock curls tutorial shows each wrap in detail.
2. Robe (Rod) Curls
Lay a soft robe belt across the top of your head and wrap damp sections around it from each side, then tie the belt ends together. Wide sections give loose, shiny waves, and narrow ones give tighter curls. The full walkthrough is in our robe curls guide.
3. Braids
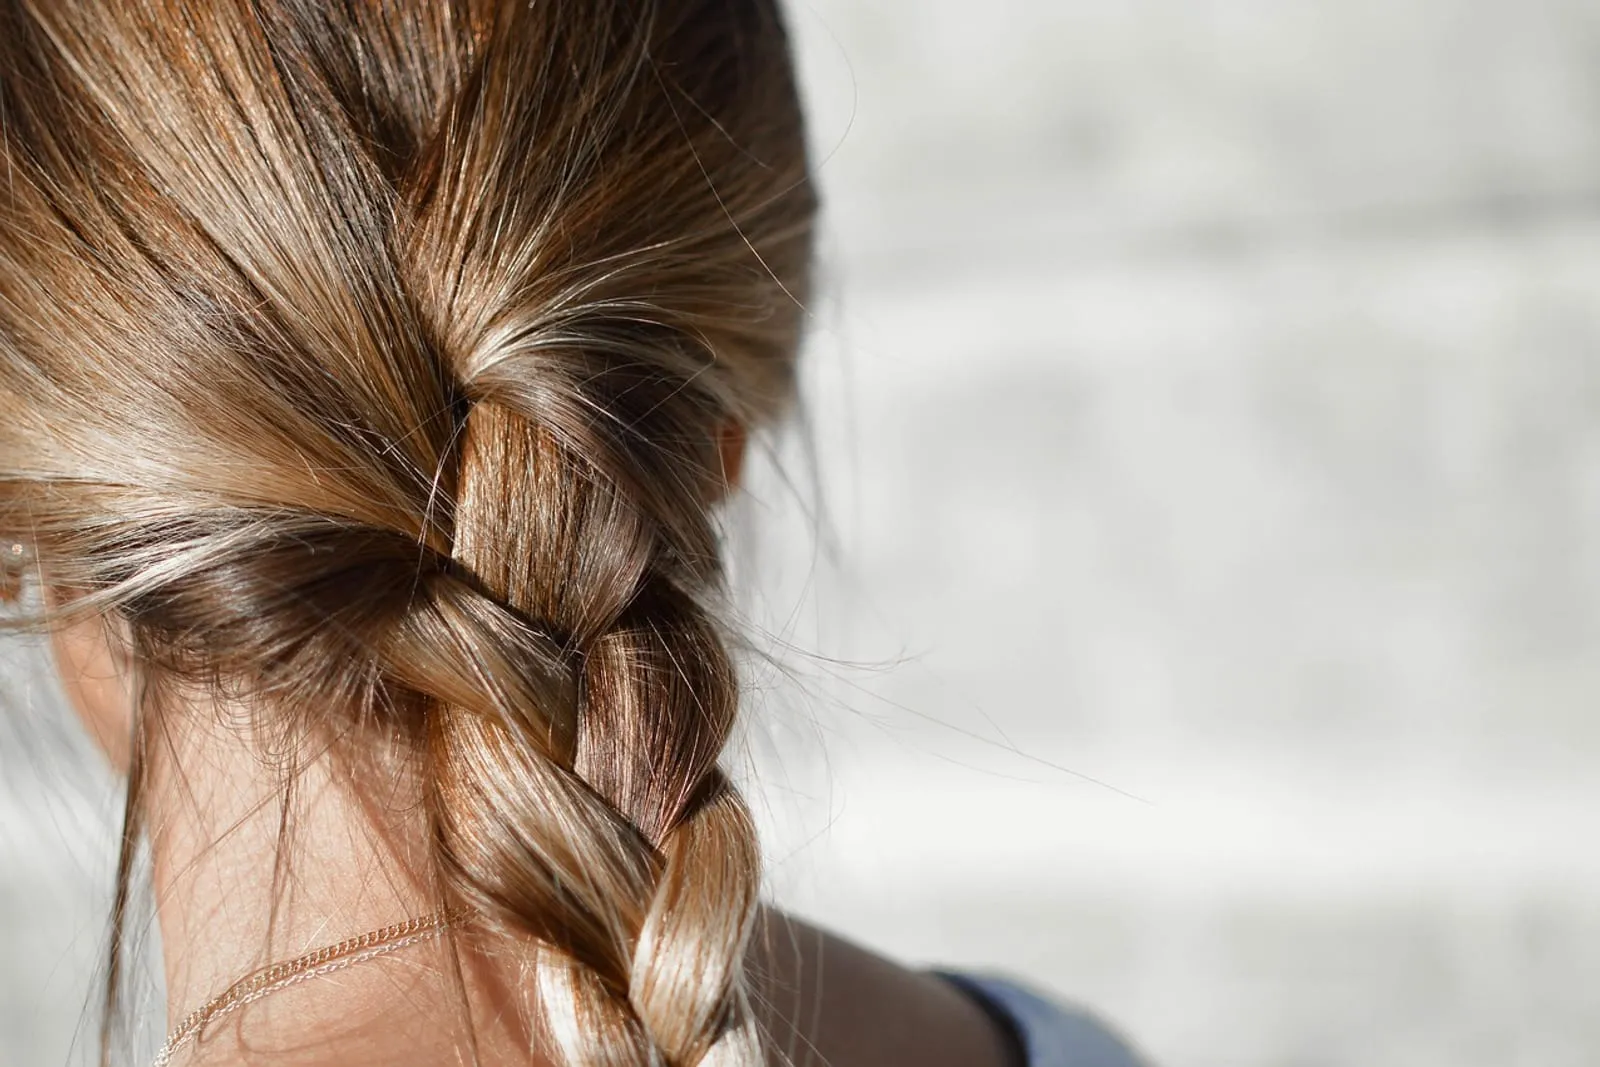
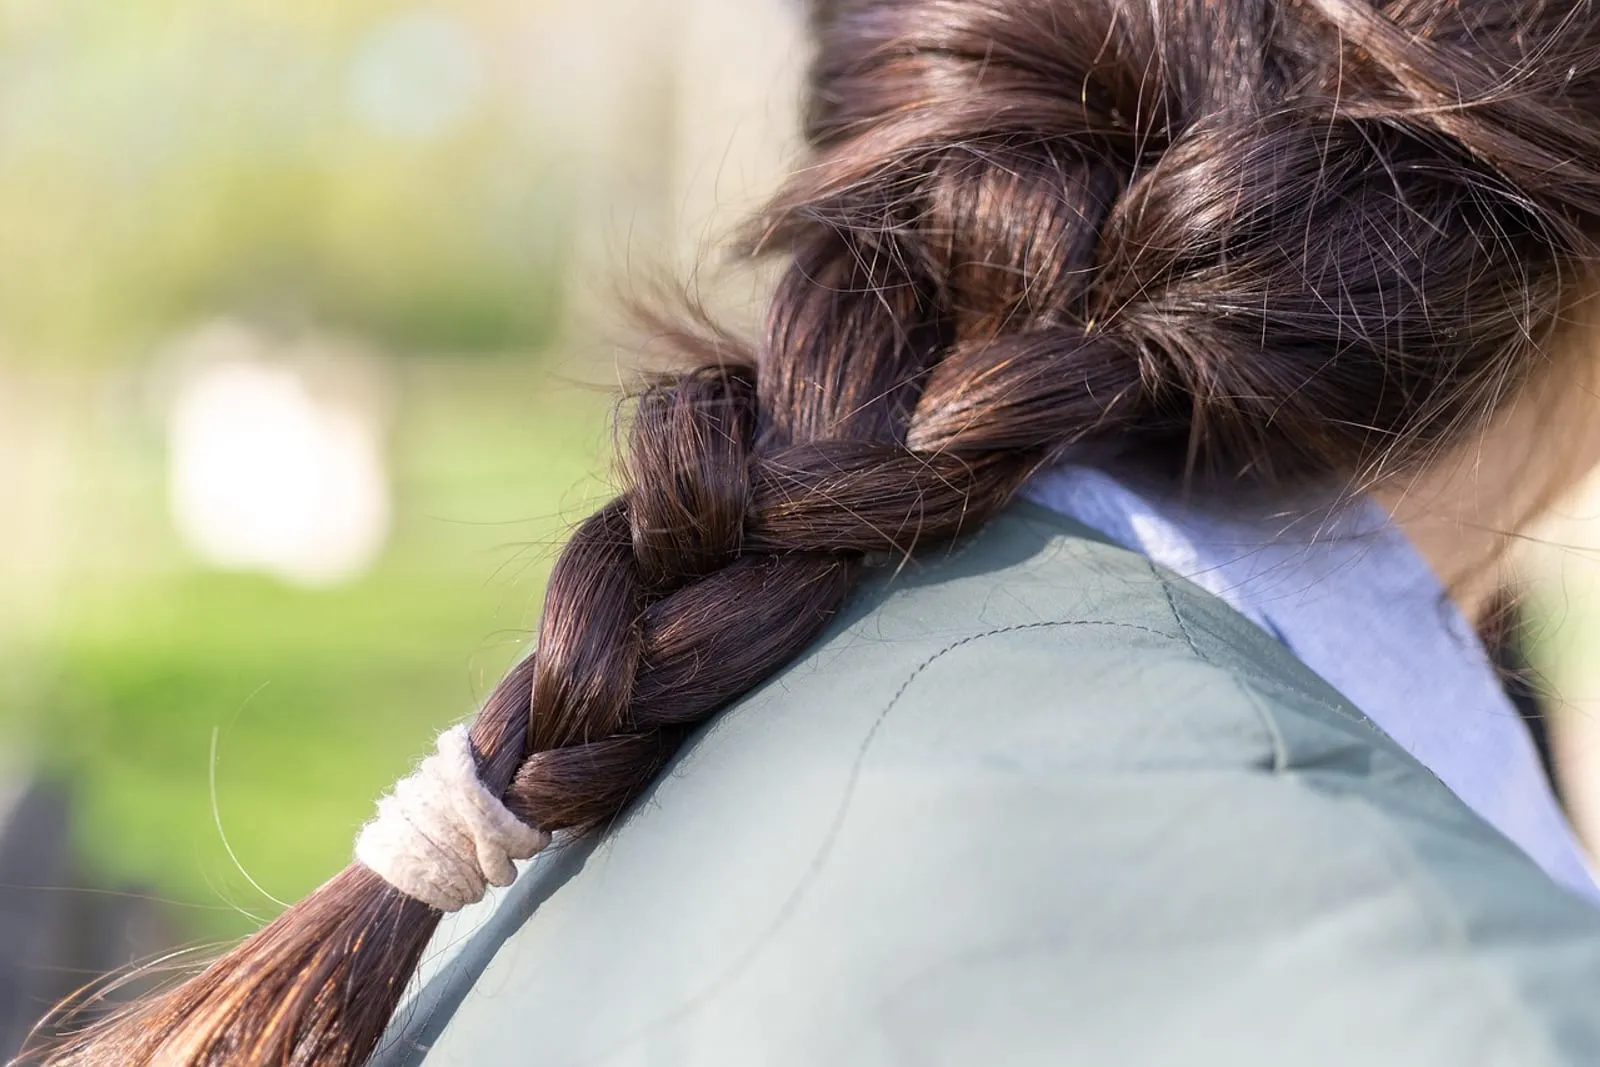
Divide the hair into 2 braids for large, loose waves, or 6 to 8 braids for tighter, crimped texture. Braid from the roots, keep the tension light, and secure the ends with a snag-free elastic. For curlier ends, wrap the tail of each braid around your finger before you tie it off.
4. Twists and Buns
Twist each section away from your face until it coils on itself, then wind it into a flat bun against your scalp and pin it with two bobby pins. Six to eight buns give bouncy spirals with root lift. Use clips with a soft cover, because bare metal pins can dig in when you lie down.
5. Flexi Rods
Place the end of a damp 1-inch section on the rod and roll it up to your roots, then bend the rod into a U to lock it. Half-inch rods give tight spirals and one-inch rods give looser curls. Put the rods around the sides and nape and use fewer on the crown, so you are not sleeping on a row of lumps.
6. Paper-Towel or Rag Curls
Cut cotton fabric into strips about 2 by 8 inches, or fold paper towels lengthwise into strips. Lay the strip across the end of a section, roll the hair up to the scalp, and tie the strip into a knot. Fabric holds better than paper towels, which can tear if the hair is too damp.
Did you know?
Rag curls are one of the oldest no-heat styling methods. People were setting hair on strips of cloth long before electric curling irons existed, and the technique still works the same way today.
7. Scrunchie or Headband Wrap
Slip a soft, stretchy headband over your head like a halo, then tuck 2 to 3-inch sections over and under it, front to back. For an even lazier version, tie a loose high ponytail with a satin scrunchie. Both give soft, bent waves with almost no effort.
No rods? Use what’s in the drawer
A clean pair of tights or a long T-shirt cut into strips can stand in for the sock or rag strips. Soft, stretchy fabric grips damp hair without denting it, and you already own it.
How to Sleep Without Wrecking Your Set
A great set can be flattened by a bad night’s sleep. Cover your hair with a satin bonnet or a loose silk scarf, and sleep on your back or side, with your head on a satin pillowcase if you have one. Keep rods, pins and elastics away from the spot where your head rests.
Skip tight elastics and metal clips
Thin rubber bands and tight metal clips can cause dents and breakage when you roll over on them. Use snag-free hair ties, cloth-covered clips or fabric strips instead.
For more ways to keep your curl pattern intact while you sleep, see our guide on how to sleep with curly hair.
The Morning Take-Down
Taking the set down is where many good curls get lost. Go slowly, and do not reach for a brush.

- Check that your hair is completely dry. Feel the center of a coil. If it is cool or damp, leave it in while you get ready, or use a blow-dryer on the cool setting for a minute or two.
- Take the set down from the bottom. Unwind each section gently, and skip the pulling.
Then shape the curls with your hands.
- Do not brush or comb. Loosen the curls with your fingers, or shake your head upside down once.
- Add a drop of oil or serum. Rub a dime-size amount between your palms and scrunch it over the curls, staying away from the roots.
- Wait 5 minutes, then finish with a flexible-hold hairspray, held about 8 to 10 inches from your head.
How to Make Heatless Curls Last All Day
Curls drop for predictable reasons: moisture, weight and touching. These habits keep them in place.
- Use a setting lotion or mousse the night before. It gives hair the grip that a plain, clean strand lacks.
- Let the curls cool and set before you style them. Hair holds a shape as it dries and cools.
- Lift the roots. Right after you take the set down, tilt your head forward and rub your fingertips against the scalp to fluff them.
- Fight humidity. A tiny amount of anti-humidity serum on the ends keeps curls from swelling.
- Hands off. Every time you touch your curls, you break up the shape.
The cool-down trick
Once the set is down and shaped, wait a few minutes before you touch anything. If you’re short on time, hit the curls with a blow-dryer’s cool setting for 20 seconds. Cooling hair in its curled shape helps it hold.
Troubleshooting: If Your Curls Aren’t Working
Your Curls Look Frizzy
Frizz usually means the hair was too wet, the set was too loose, or you brushed the curls. Rub a drop of oil between your palms and smooth it over the surface, and take the set down more gently next time. For more ideas, see our frizzy hair fixes.
Your Roots Are Flat
Roots go flat when sections are wrapped downward and then pressed by your pillow. Start the crown sections a little up and away from your face, then flip your head over in the morning and fluff the roots with your fingertips for 10 seconds.
You Have Dents or Kinks
Dents come from tight elastics, bobby pins or lying on a hard rod. Switch to soft ties, move rods away from the pillow, and smooth any bends with a little water and your fingers.
The Curls Fall by Noon
Say your curls look perfect at 8 a.m. but are limp by lunch. The usual culprits are hair that was too wet or too slippery. Next time wait until it is truly damp, use a bit more setting lotion, and use smaller sections. A flexible-hold hairspray helps too.
Your Hair Is Still Damp in the Morning
Try a blow-dryer on the cool setting for 2 to 3 minutes, or leave the set in while you get ready. Next time, start with less water in the hair.
Your Next Step
Pick one method and set aside twenty minutes tonight. If you want an easy first try, start with braids or the headband wrap, then move on to something more defined. Sock curls are the most popular next stop, and our sock curls tutorial walks you through the wrap step by step.
Frequently Asked Questions
How long does it take to get heatless curls overnight?
Do heatless curls work on straight, fine hair?
Can I do heatless curls on dry hair?
Which heatless curl method lasts the longest?
You might also like
More in Hair Care →
Sock Curls: How to Get Heatless Curls With Socks (Step by Step)
Sock curls give you soft, bouncy heatless waves overnight. Learn which socks to use, how damp your hair should be and how to avoid frizz. Try it tonight!

Robe Curls: The Heatless Robe Tie Method for Bouncy Waves
Robe curls turn a bathrobe belt into a heatless curling rod. Learn which tie to use, how to wrap for face-framing curls and sleep comfortably. Try it tonight!

Heatless Curls for Short Hair: 6 Methods That Actually Hold
Heatless curls for short hair need smaller sections and the right method. See 6 that hold on bobs and lobs, plus a length guide. Find your match today!