How to Plop Curly Hair With a T-Shirt (Step-by-Step)
Learn how to plop curly hair with a cotton T-shirt in five easy steps, plus timing by hair type, troubleshooting and a no-crunch finish. Try it tonight!
In this article
- What Plopping Is and Why It Works
- What You Need to Plop Curly Hair
- How to Plop Curly Hair Step by Step
- How Long to Plop by Hair Type and Length
- After Plopping: Hands Off Until It’s Dry
- Troubleshooting Common Plopping Problems
- Plopping Variations: Micro-Plop, Plop-and-Go and Overnight
- The Bottom Line
If your curls dry limp at the roots and fuzzy at the ends no matter which gel you buy, the problem may be how you dry them rather than what you put on them. Learning how to plop curly hair takes two minutes to master, costs nothing beyond an old cotton T-shirt, and gives most people rounder, less frizzy curls on the very first try. Here’s exactly how to do it, how long to leave it wrapped, and what to do when it goes wrong.
Key takeaways
- Plopping means wrapping wet, product-coated curls in a cotton T-shirt so they dry scrunched against your scalp instead of stretched by gravity.
- Always apply your styling products first; the shirt sets the clumps you’ve already formed.
- Most hair needs 15–45 minutes. Fine waves need less, thick or long curls need more.
- Once you unwrap, keep your hands off until your hair is 100% dry, then scrunch out the cast.
- Skip overnight plopping unless your hair is short and fast-drying.
What Plopping Is and Why It Works
Plopping is a drying technique where you bend forward, lower your soaking-wet curls onto a cotton T-shirt, and wrap the shirt around your head so your hair sits piled on top in an accordion shape. It replaces the rub-with-a-bath-towel step, which lifts the cuticle and pulls curls apart.
Did you know?
Hair is at its most fragile when wet and can stretch by roughly 30% of its length before it breaks. That’s why rubbing wet curls with a towel does so much more damage than patting dry hair.
It works for three reasons:
- Gravity is taken out of the picture. Wet hair is heavy, and when it hangs straight down, that weight stretches your wave at the root. Plopping keeps hair compressed against the scalp so it dries with its natural spring.
- The fabric absorbs water without friction. Smooth cotton jersey wicks away excess water while leaving the moisture your stylers need to set. Terry loops snag strands and rough up the surface, a main culprit behind the fuzz covered in our frizzy hair fixes.
- It sets the clump. Scrunching gel into wet hair gathers strands into curl clumps. Plopping holds those clumps together while the product forms its cast, so they dry as one piece.
What a two-minute plop gets you
- Noticeably less frizz, because nothing rubs the cuticle while it’s wet.
- More root volume, since curls dry lifted instead of pulled down.
- A shorter air-dry or diffuse time, as the shirt removes a lot of water up front.
What You Need to Plop Curly Hair
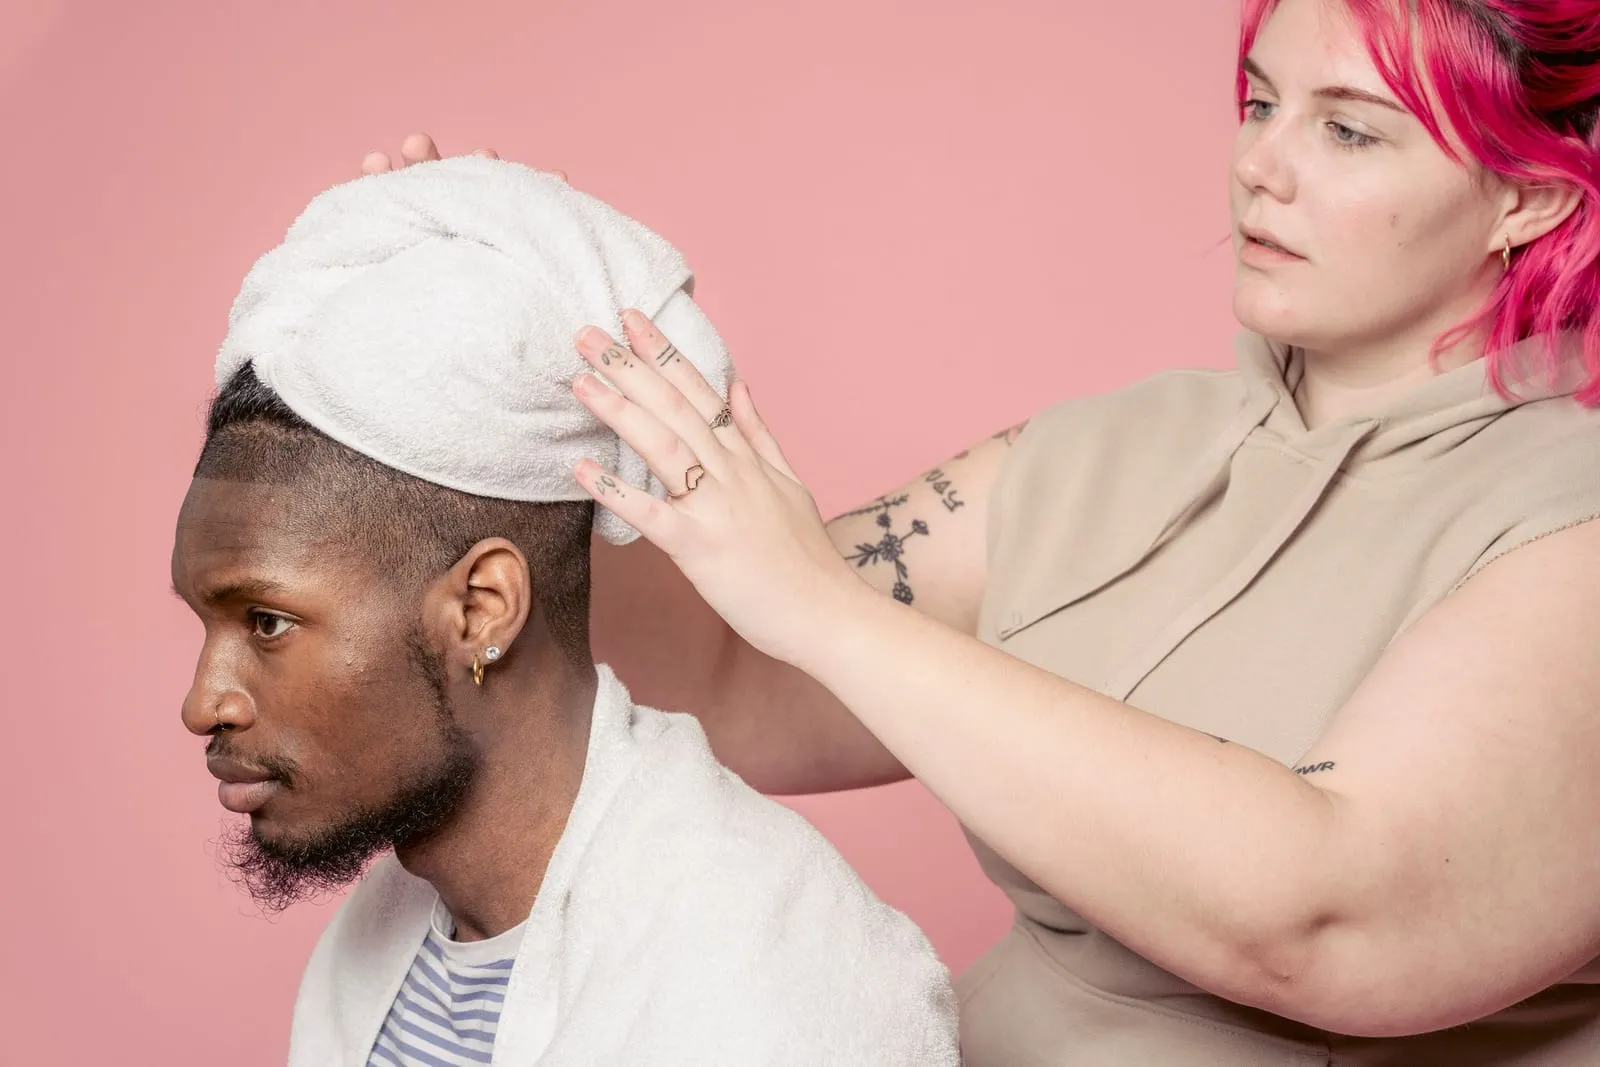
The only real requirement is something soft, smooth and absorbent that’s big enough to wrap around your head. For shoulder-length hair, an adult size large cotton T-shirt is ideal, and a long-sleeved one is even better because the sleeves make a sturdier tie.
Here’s how the three most common options compare:
| Option | Absorbency | Friction | Best for | Watch out for |
|---|---|---|---|---|
| Cotton T-shirt | Medium | Very low | Every texture, long hair, tight budgets | Gets heavy when soaked |
| Microfiber towel | High | Low | Thick, dense or high-porosity hair that holds lots of water | Can over-dry fine hair; “plush” microfiber is fuzzier than the smooth kind |
| Hair wrap or turban | Medium–high | Low | Travel and convenience; button closure | The loop can leave a dent; often too small for very long hair |
Have your stylers ready before you step out of the shower (a leave-in, a gel or mousse), plus a few clips for the crown if your roots tend to go flat.
Pre-squeeze with a second shirt
Before wrapping, scrunch your soaking-wet curls upward with a dry, clean cotton shirt for 20 seconds. Removing the first wave of dripping water means the plop shirt stays lighter and your hair needs less time wrapped.
How to Plop Curly Hair Step by Step
The whole process takes about two minutes of hands-on time. Step one trips most people up, so don’t skip it.
-
Start with soaking-wet, styled hair. After rinsing out your conditioner, don’t towel off. Apply a dime-size amount of leave-in, then cream, then a quarter-size amount of gel per section, smoothing each with flat palms and scrunching upward until you hear a squish. For more on getting clumps to form, read how to define curls first.
-
Lay the T-shirt flat. Spread it on the counter or closed toilet lid with the neck hole farthest from you and the sleeves nearest you. Turn it inside out if it has a printed logo.
-
Bend forward and lower your hair into the center. Flip your hair forward from the waist and bring the top of your head down slowly so the curls land in a loose pile, accordion-style. Don’t drag them across the fabric.
-
Fold the hem over the back of your head. Grab the bottom hem and fold it up over your nape so every strand is enclosed.
-
Tie the sleeves. Bring the sleeves around to the back of your head and tie a single knot, snug enough to stay put when you stand but with no pull on your hairline.
-
Wait 15–45 minutes. The chart below tells you where to land for your hair.
-
Unwrap gently. Untie, bend forward and let the shirt fall away. Don’t shake or ruffle your hair. Stand up slowly, tip your head side to side so the curls settle, and move straight on to drying.
Tie at the nape, not on top
Tying the sleeves at the nape, just below the hairline, keeps the knot off the hair itself. Knots tied on top of the head or across the forehead are the most common cause of the flat strip people complain about after plopping.
How Long to Plop by Hair Type and Length
There’s no single right time. The goal is to unwrap when your hair is damp but no longer dripping, with the gel still slightly tacky. Go too short and the shirt hasn’t done much; go too long and the roots dry bent flat, which shows most on fine hair.
| Hair type or length | Plop time | Notes |
|---|---|---|
| Fine wavy (2A–2B) | 10–15 min | Longer plops flatten the root; try a micro-plop instead |
| Thick wavy or loose curls (2C–3A) | 15–25 min | The sweet spot for most people |
| Curly (3B–3C) | 20–40 min | Fits nicely into a skincare routine |
| Coily (4A–4C) | 10–20 min | Mainly to remove water before stretching or diffusing |
| Short hair (chin or above) | 10–15 min | Less water to absorb |
| Long hair (past the shoulders) | 30–45 min | A microfiber towel helps |
Porosity shifts the numbers too: high-porosity hair holds more water and benefits from the longer end of each range, while low-porosity hair does best at the shorter end.
After Plopping: Hands Off Until It’s Dry
What you do in the thirty seconds after unwrapping matters almost as much as the plop itself. The gel is only partly set, so every touch or finger-comb pulls clumps apart and creates frizz that lasts until the next wash.
From here you have two options:
- Air-dry. Leave your hair alone for one to three hours, depending on length and density. If your roots look flat, slide a few clips in at the crown, lifting the hair straight up from the scalp, and remove them once the roots are dry.
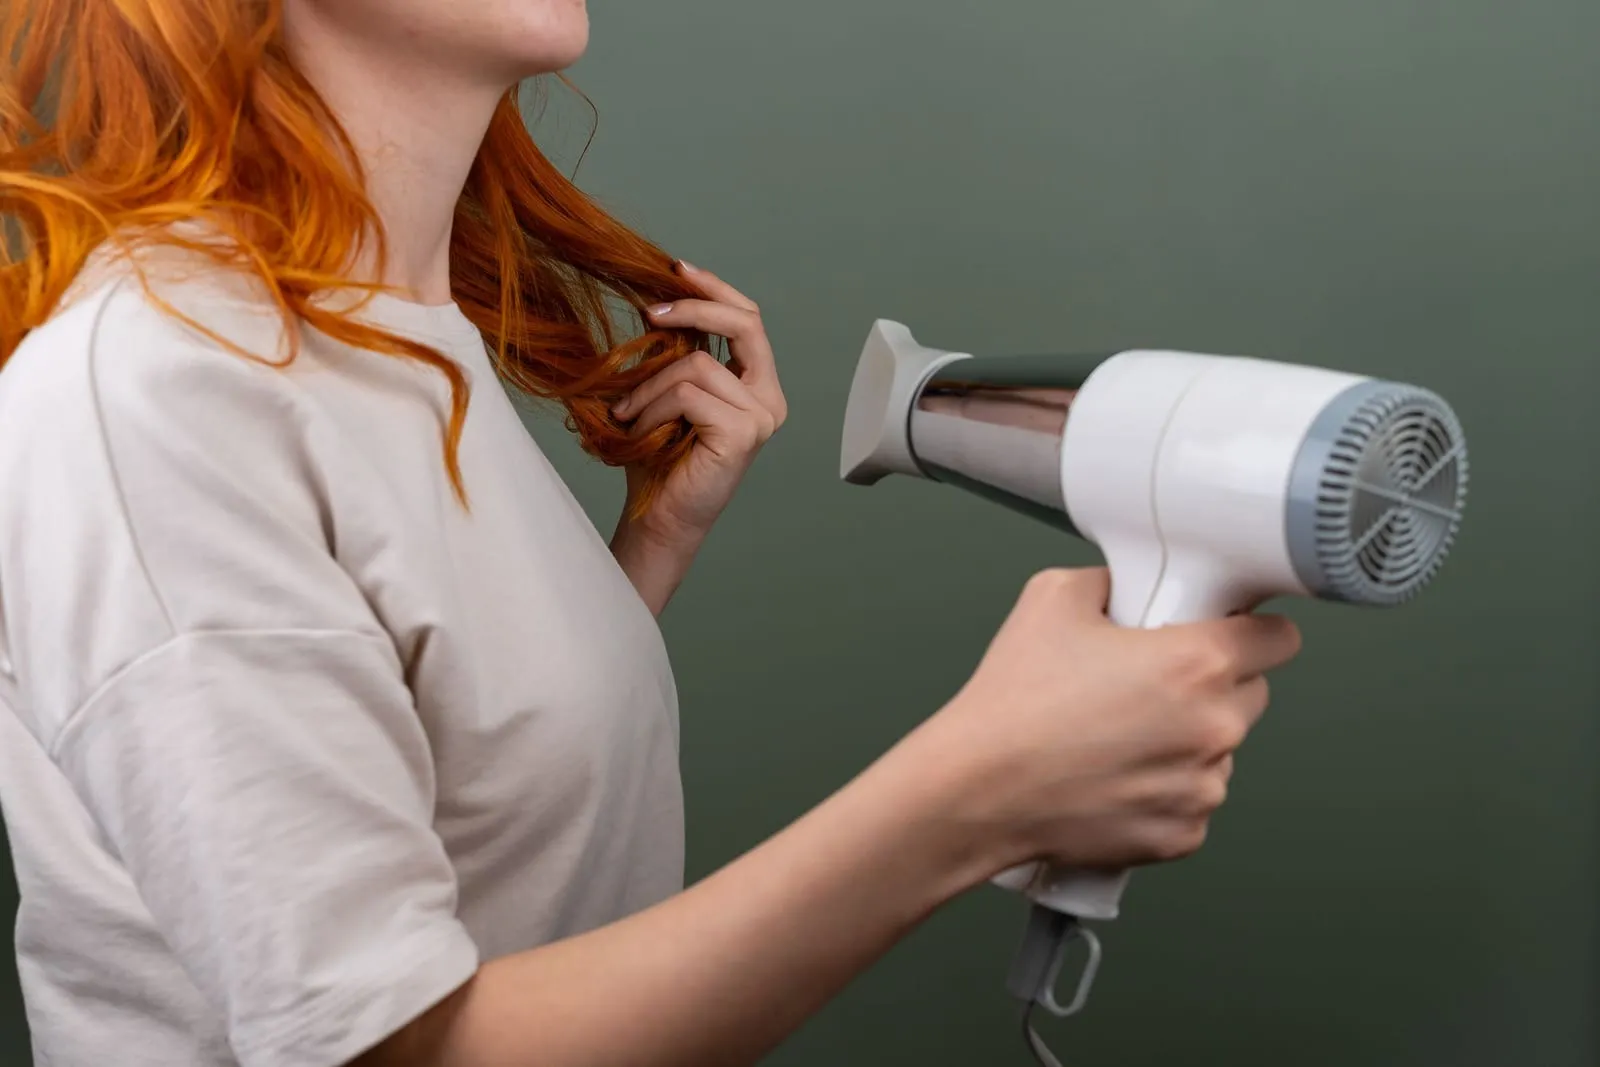
- Diffuse. Set your dryer to low heat and low speed, cup sections of curls in the diffuser bowl and lift them toward the scalp for 20–30 seconds at a time. Because the plop already removed a lot of water, you’ll usually be done in 10–15 minutes. The American Academy of Dermatology’s hair care advice favors the lowest heat setting that gets the job done.
Did you know?
The outer cuticle of each strand is built from several layers of overlapping scales. Smooth cotton jersey glides across them, while the loops of a terry bath towel catch and lift them, which is why towel-dried hair so often looks fuzzy.
Either way, wait until your hair is 100% dry, then put a drop of light oil between your palms and scrunch upward to break the gel cast. This “scrunch out the crunch” step turns stiff curls into soft, defined ones. For how it fits into a full wash day, see our weekly curly hair routine.
Plopping can’t fix a product mismatch
If your curls come out coated, limp or stringy, the culprit is usually buildup or a product that’s too heavy for your hair, not the technique. Use a clarifying shampoo, then try a lighter gel or mousse before changing how you plop.
Troubleshooting Common Plopping Problems
Swap the shirt halfway
If your hair is long or very thick, replace the soaked shirt with a dry one after 15 minutes. A fresh, dry shirt keeps pulling out water, so you get the benefit of a longer plop without the weight that flattens roots.
Most plopping fails trace back to one of five issues, all easy to fix on the next wash day.
- Flat roots. The plop ran too long, or your hair was pushed too far forward. Shorten the plop by 10 minutes, clip the crown while drying, or diffuse upside down for two minutes.
- Wonky, stretched waves on one side. Hair landed unevenly in the shirt. Mist that section until damp, scrunch in a pea-size amount of gel, and clip it up while it dries.
- A dent from the tie. The knot was too tight or tied over hair. Move it to the nape, or switch to a button wrap. To rescue the dent today, mist, scrunch and air-dry.
- Still dripping after 45 minutes. Your hair held more water than cotton could absorb. Gently squeeze (don’t rub) your lengths before applying product, or plop in a microfiber towel.
- Frizz anyway. The products went on when hair was partly dry, the shirt was fleece or terry, or you touched the curls after unwrapping.
If frizz shows up on every wash regardless of drying method, work through our curly hair mistakes guide; the fix is often something small.
Plopping Variations: Micro-Plop, Plop-and-Go and Overnight
Once the basic technique is comfortable, a few variations handle specific situations.
Micro-plopping is scrunching sections of wet hair with the T-shirt in your hands, 5–10 seconds per section, instead of wrapping the whole head. It’s the better choice for fine or short hair that goes flat with a full plop.
Plop-and-go is a five-minute plop whose only goal is to stop the drip so you can leave the house with damp hair. You lose some volume but still avoid towel friction.
Overnight plopping is popular on social media, but it’s the one variation most people are better off skipping.
Think twice before plopping overnight
Hair is at its weakest when wet, and eight hours of damp strands under a tied shirt and a pillow can lead to breakage, a flattened or dented pattern, and a musty smell from hair that never fully dried. If you must style at night, plop for 30 minutes, diffuse until mostly dry, then protect your curls with a satin bonnet or pineapple as described in our guide on how to sleep with curly hair.
The Bottom Line
Plopping is the rare hair trick that’s both free and genuinely effective. Apply your stylers to soaking-wet hair, lower your curls into the center of a cotton T-shirt, fold, tie at the nape, and leave it for 15–45 minutes depending on your texture. Then keep your hands off until your hair is bone-dry and scrunch out the crunch. Give it three wash days to dial in your timing, and you’ll likely find rounder curls, higher roots and a diffuser that gets a little less use.
Frequently Asked Questions
Do you plop curly hair before or after applying product?
How long should I plop my hair?
Can I plop with a regular bath towel?
Why are my roots flat after plopping?
You might also like
More in Hair Care →
A Simple Weekly Curly Hair Routine (Works for Wavy Hair Too)
Follow this simple weekly curly hair routine for soft, defined curls and waves, with wash day, refresh days and night care mapped out. Steal the schedule!
How to Define Curls Without Frizz: A Step-by-Step Guide
Learn how to define curls without frizz using the right wet-styling technique, product layering and drying method. Steal the step-by-step wash-day plan!

How to Detangle Curly Hair Without Breakage
Learn how to detangle curly hair without breakage with a step-by-step method, the right tools and fixes for stubborn knots. Save this guide for wash day!