Meal Prep for Beginners: Plan and Prep a Week in 2 Hours
Meal prep for beginners made simple: plan, shop and cook a week of easy meals in about 2 hours, with a step-by-step timeline and storage chart. Start Sunday!
In this article
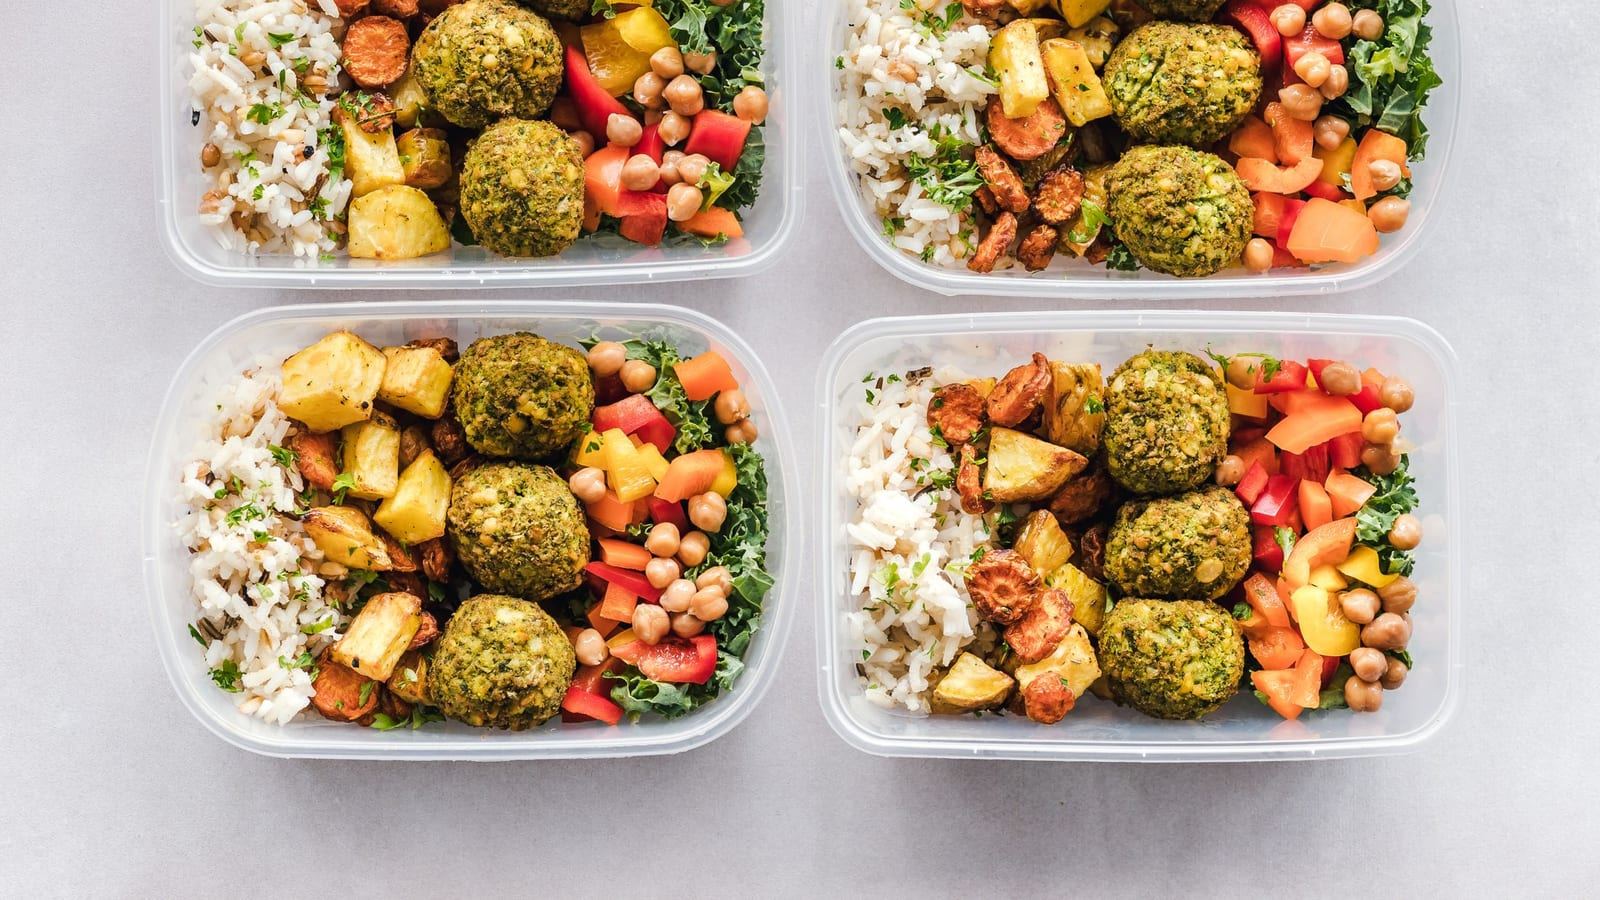
Meal prep sounds like an all-day Sunday project with 21 identical containers, but it doesn’t have to be. This guide to meal prep for beginners shows you how to plan, shop and cook the building blocks for a week of lunches and dinners in about two hours, with food you’ll still want to eat on Thursday.
Key takeaways
- Start with component prep: cook a few proteins, grains and vegetables, then mix and match.
- Plan only 5 lunches and 3–4 dinners in your first week.
- Use two sheet pans and one pot so everything cooks at the same time.
- Most cooked food keeps 3–4 days in the fridge; freeze anything for later in the week.
- Keep sauces separate so meals don’t turn soggy.
What Meal Prep for Beginners Really Looks Like
There are three main styles of meal prep, and choosing the right one makes your first week much easier.
- Full meals. Complete, portioned meals you grab and reheat. Great for work lunches, but eating the same dish five days running gets boring fast.
- Component prep. You cook ingredients, not recipes: a protein, a grain, roasted vegetables and a sauce or two, then combine them differently each day.
- Batch cooking. One big pot of soup, chili or curry, portioned into containers and partly frozen.
For your first week, go with component prep. It’s flexible, forgiving, and teaches you the rhythm of cooking several things at once.
Step 1: Plan a Simple Menu (15 Minutes)
Use a simple formula instead of hunting for recipes: 2 proteins, 1–2 grains or starches, 3 vegetables and 2 sauces. That’s enough variety to build different meals all week.
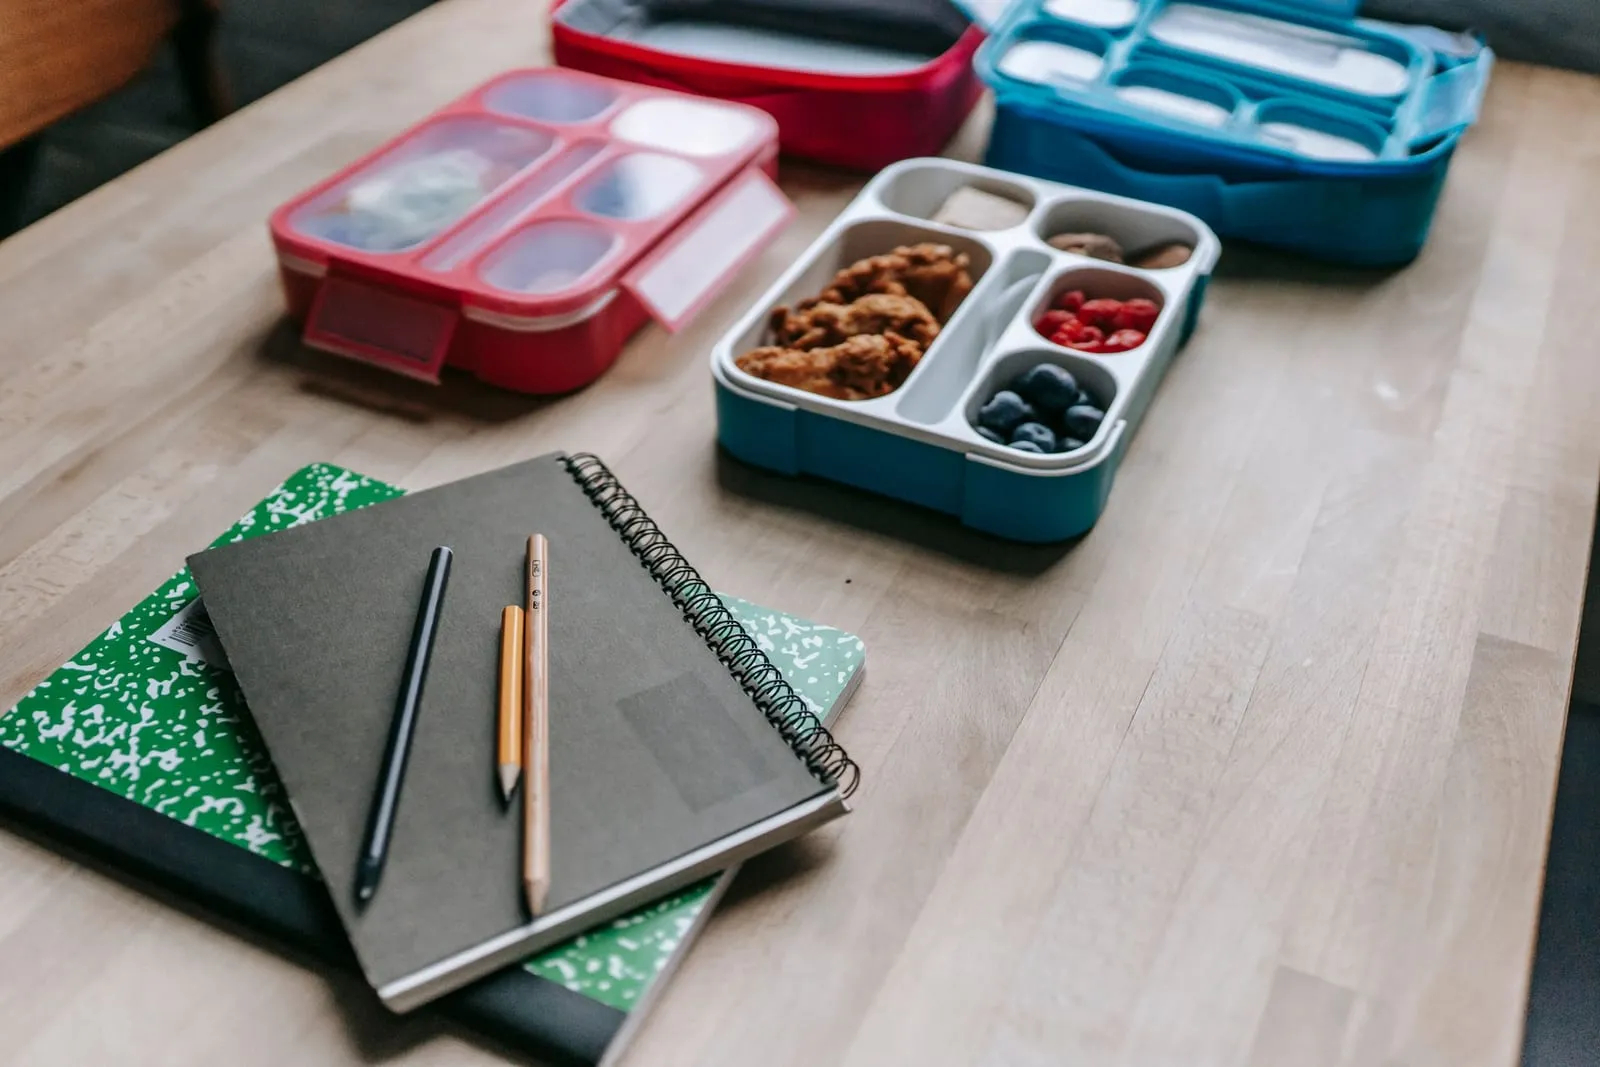
Here’s a sample beginner menu for one person:
- Proteins: about 2 lb (900 g) boneless chicken thighs and 8 eggs
- Grains and starches: 1½ cups (about 280 g) uncooked brown rice or quinoa, plus 2 medium sweet potatoes
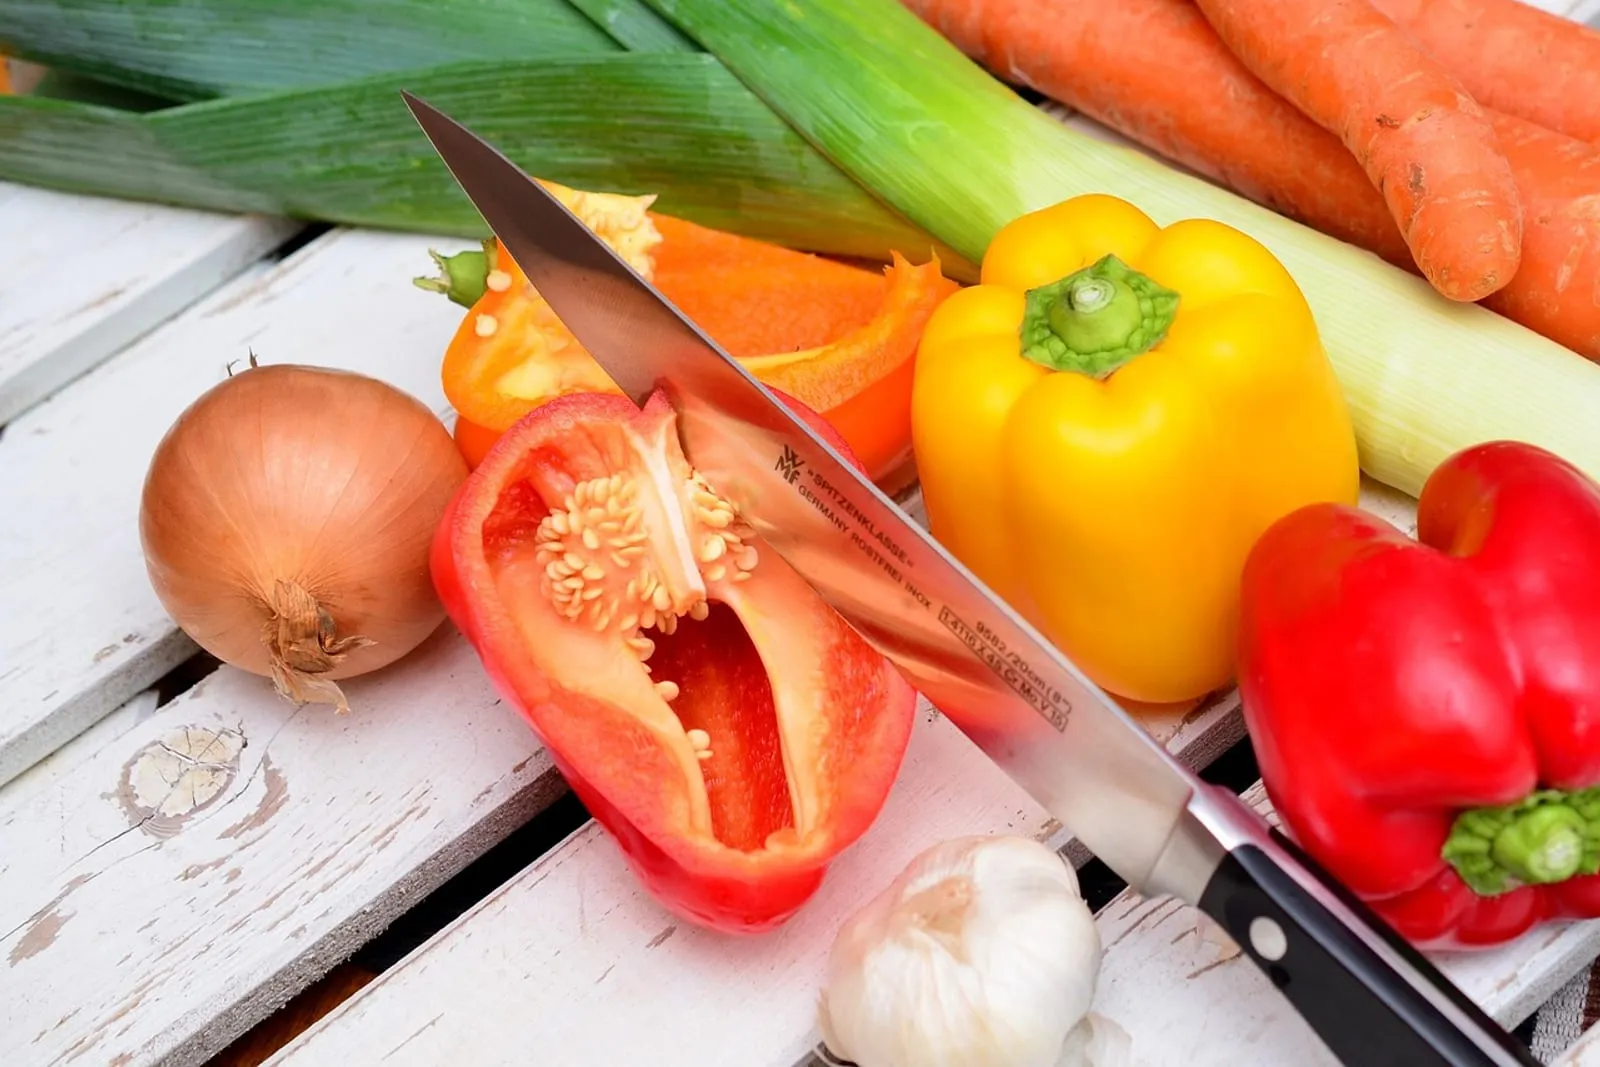
- Vegetables: 1 large head of broccoli and 2 bell peppers to roast; spinach, cucumbers and carrots to eat raw
- Sauces: lemon-tahini dressing and a simple yogurt-herb sauce, or your favorite salsa
From these, you can build a different lunch every day without a single extra recipe:
- Monday: chicken, brown rice, roasted broccoli and lemon-tahini dressing
- Tuesday: burrito-style bowl with rice, chicken, roasted peppers, spinach and salsa
- Wednesday: big spinach salad with cucumbers, carrots, two eggs and tahini dressing
- Thursday: roasted sweet potato topped with chicken and yogurt-herb sauce
- Friday: quick fried rice with frozen rice, an egg and leftover vegetables
Step 2: Write a Smart Shopping List
Check your fridge, freezer and pantry first, then write your list grouped by store section: produce, meat and dairy, pantry. It saves time in the store and stops you from buying a third jar of cumin.
A few rules that help beginners:
- Buy for the plan, not for inspiration. Overbuying produce is the fastest way to waste money.
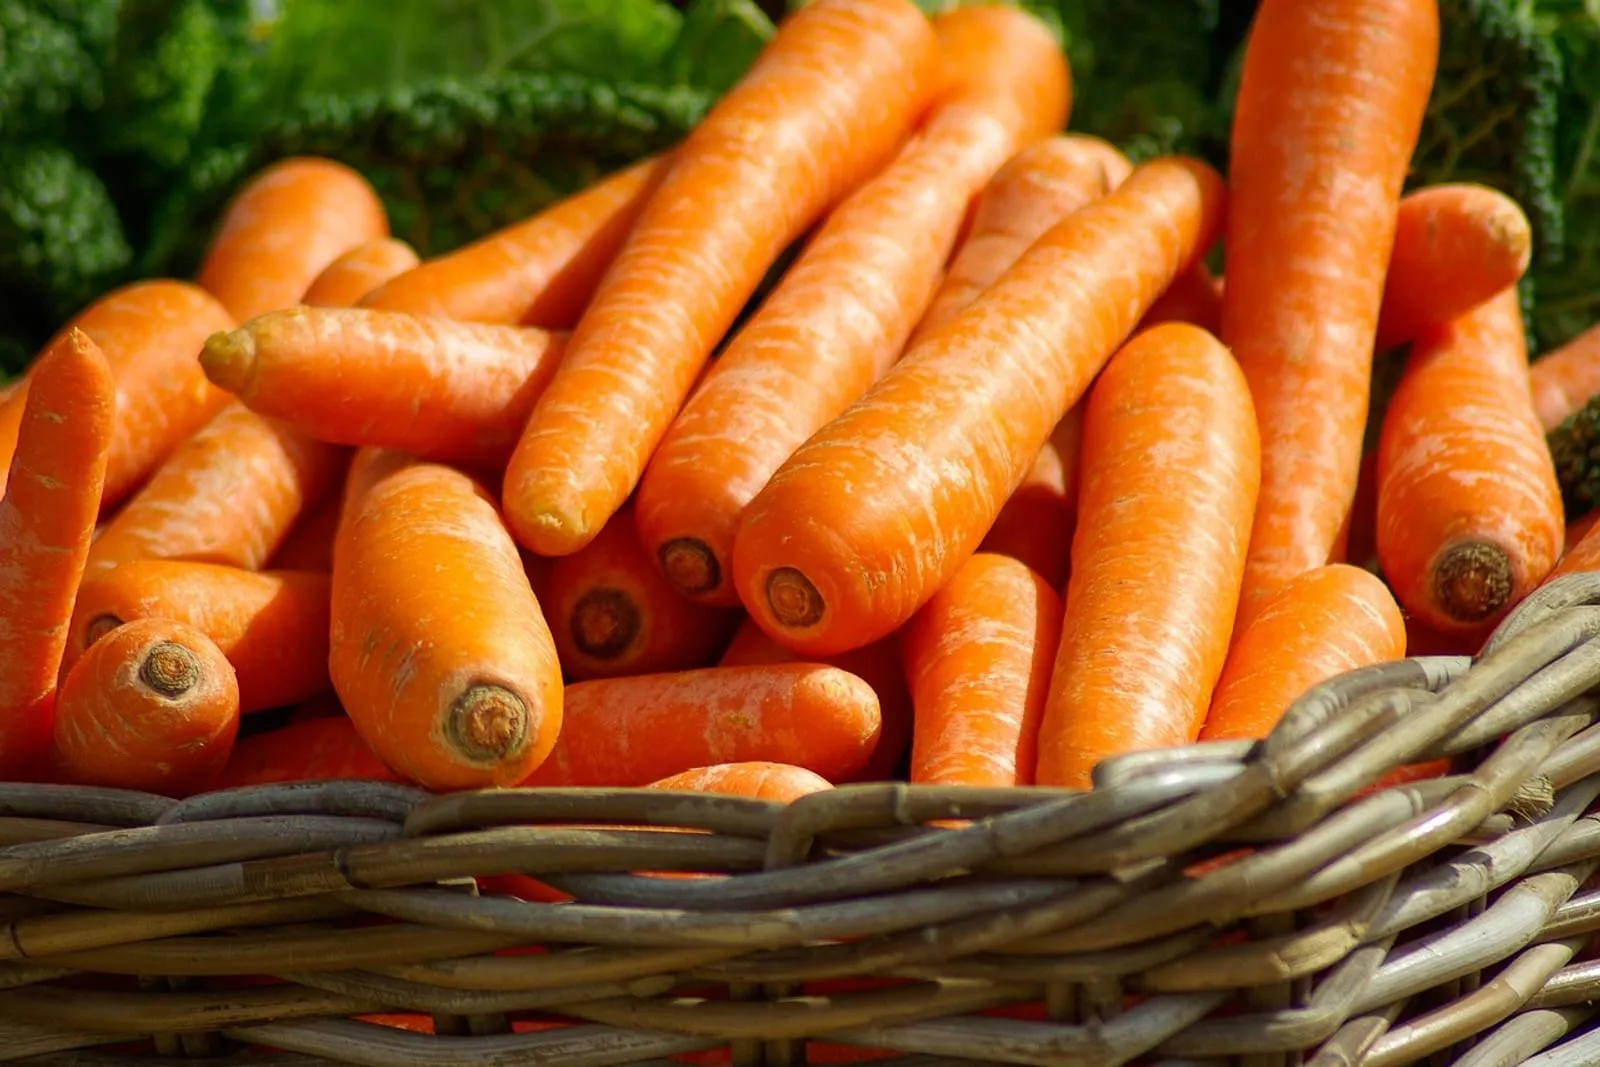
- Choose sturdy vegetables. Broccoli, carrots, peppers, cabbage and sweet potatoes last longer than delicate greens.
- Use shortcuts without guilt. Pre-cut vegetables, microwave rice pouches and a rotisserie chicken are all fair game.
Did you know?
Frozen vegetables are usually frozen soon after harvest, which locks in nutrients. Research from the University of California, Davis found that frozen produce is often comparable in vitamin content to fresh produce that has sat in the fridge for several days. Frozen broccoli, peppers and spinach are good meal prep shortcuts.
Step 3: Gather Containers and Tools
You don’t need fancy gear, but a few basics make the process smoother:
- 6–10 containers with tight lids, about 3 cups (700 ml) each. Glass is microwave-safe and doesn’t stain; BPA-free plastic is lighter to carry.
- Small containers or jars for sauces, so meals don’t get soggy.
- Two rimmed sheet pans, one large pot, a sharp chef’s knife and a big cutting board.
- Masking tape and a marker to label containers with the contents and the date.
Reusing jars or containers that still wear a price sticker? This guide to removing sticker residue shows how to get it off cleanly.
Freeze sauce in an ice cube tray
Pour extra tomato sauce, pesto or broth into a standard ice cube tray, freeze until solid, then pop the cubes into a freezer bag. Each cube is a small, pre-portioned amount you can drop into a pan or a bowl of reheated rice, so you only thaw what you need.
Step 4: Follow This 2-Hour Prep Timeline
The secret to fast meal prep is overlap: the oven, the stovetop and your hands should all be busy at the same time.
| Time | What to do |
|---|---|
| 0:00 | Preheat the oven to 425°F (220°C). Start the rice or quinoa on the stove. |
| 0:05 | Season the chicken thighs with oil, salt, pepper and paprika; spread them on sheet pan 1. |
| 0:15 | Cube the sweet potatoes and cut the broccoli and peppers; toss with oil and salt on sheet pan 2. |
| 0:25 | Put both pans in the oven. Boneless thighs take about 20–25 minutes; vegetables 25–35. |
| 0:30 | Boil the eggs for 10–12 minutes, then move them to a bowl of ice water. |
| 0:45 | Check the chicken reaches 165°F (74°C) with a thermometer. Remove it and stir the vegetables. |
| 0:55 | Take out the vegetables once browned and tender. Wash and dry the greens; slice the cucumbers and carrots. |
| 1:10 | Whisk together both sauces and pour them into small jars. |
| 1:25 | Portion everything into shallow containers, label them, and refrigerate. |
| 1:45 | Wash up and wipe down the counters. You’re done by 2:00. |
Clean as you go
Fill the sink with hot soapy water before you start and wash tools during the oven time. Finishing with an empty sink is what makes meal prep feel easy enough to repeat next week.
Step 5: Store Your Food Safely
Food safety is the part beginners skip most often. The USDA’s guidance on leftovers and food safety is simple: refrigerate cooked food within 2 hours (1 hour if it’s above 90°F/32°C outside), and divide big batches into shallow containers so they cool quickly.
| Food | Fridge | Freezer |
|---|---|---|
| Cooked chicken | 3–4 days | 2–6 months |
| Cooked rice, quinoa and roasted vegetables | 3–4 days | Up to 3 months (softer texture) |
| Soups, stews and chili | 3–4 days | 2–3 months |
| Hard-boiled eggs (in the shell) | Up to 1 week | Not recommended |
| Homemade yogurt or tahini sauce | 3–4 days | Not recommended |
These are conservative guidelines based on USDA advice. For other foods, check the FoodSafety.gov cold storage chart.
Did you know?
The USDA calls 40°F to 140°F (4°C to 60°C) the “Danger Zone”, because bacteria multiply fastest in that range and can double in as little as 20 minutes. That’s why a pan of cooked food shouldn’t sit on the counter while you finish the rest of your prep.
When it’s time to eat, reheat leftovers until they’re steaming hot all the way through, which means 165°F (74°C) in the center. In the microwave, cover the container loosely, stir halfway through, and let it stand for a minute so the heat spreads evenly. Add a splash of water to rice and grains before reheating so they don’t dry out.
Plan around the 4-day rule
Since most cooked food keeps only 3–4 days in the fridge, freeze any portions you plan to eat on Friday or later. Move them to the fridge the night before so they thaw safely.
Beginner Meal Prep Mistakes to Avoid
- Cooking seven new recipes at once. Start with two or three simple components and add more once the routine feels easy.
- Dressing salads in advance. Keep dressing in a separate jar and add it just before eating.
- Seasoning everything the same way. Plain components plus two different sauces keep meals interesting all week.
- Prepping food that doesn’t reheat well. Fried and crispy foods turn soggy; roasted and braised foods hold up best.
- Forgetting breakfast. Overnight oats or egg muffins take 10 extra minutes and make your morning routine much calmer.
Build a jar salad
Layer a wide-mouth jar from wet to dry: dressing first, then sturdy vegetables like carrots and cucumbers, then protein, then greens on top. The dressing stays away from the leaves until you tip the jar into a bowl, so the greens stay crisp far longer than a salad dressed in advance.
Final Thoughts
Your first prep session might take closer to two and a half hours, and that’s fine. By week three, the timeline becomes muscle memory and you’ll start improvising. Keep it simple, label everything, and respect the 3–4 day window. Once Sunday prep is a habit, it pairs nicely with other small weekly resets: put fresh sheets on the bed (here’s how to fold a fitted sheet so the linen closet stays tidy), clear one shelf with our small closet declutter plan, or plan wash day with the weekly curly hair routine.
Frequently Asked Questions
How long does meal prep last in the fridge?
What are the best foods for beginner meal prep?
Do I need special meal prep containers?
Can I put hot food straight into the fridge?
You might also like
More in How-To →
How to Remove Sticker Residue: 9 Methods by Surface
Remove sticker residue from glass, plastic, wood, metal, fabric and laptops with 9 safe home methods and a simple surface chart. Pick yours and start today!
How to Fold a Fitted Sheet: 2 Easy Methods + Storage Tips
Learn how to fold a fitted sheet flat in a minute with the corner-tuck method, plus a quick roll, a pillowcase storage hack and closet tips. Try it tonight!

Apple Cider Vinegar Hair Rinse: Does It Work?
Does an apple cider vinegar hair rinse really make hair shinier? See the science, the safe ratio, how often to rinse and who should skip it. Try it once!